How To Connect Course and Funnel Checkout Using Workflows
**Overview:**allows you to bridge the gap between your sales funnels and your educational content. By linking a Membership Offer to a Funnel Product, you ensure that as soon as a payment is successful, the contact receives access to their digital products without any manual work from you.
Practical Use Case:
A fitness coach sells a “30-Day Weight Loss Challenge.” When a client enters their credit card info on the coach’s website funnel, the system automatically recognizes the purchase, creates a member account, and emails the client their unique login link and password.
Part 1: Prepare Your Membership Offer
Section titled “Part 1: Prepare Your Membership Offer”Before linking to a funnel, you must package your course into an “Offer.”
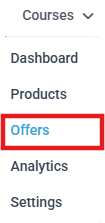
- To access your offers, navigate to Membership > Courses> Offers.
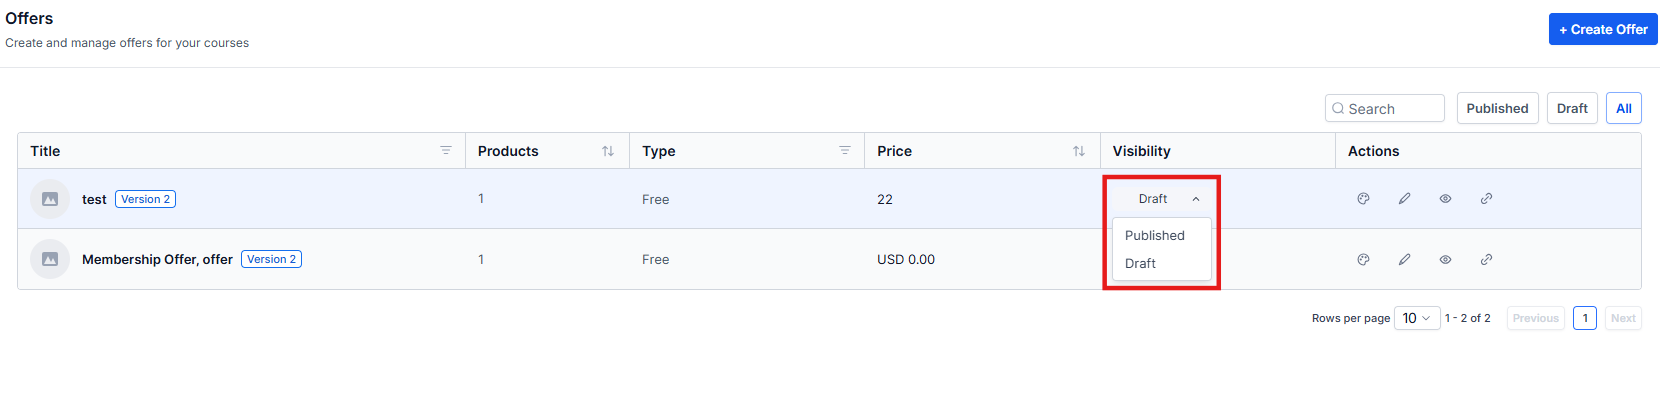
2. To start a new package, click Create Offer.

3. To ensure the course is available, verify that your Product (Course) is set to Published.
4. To make the offer visible in checkout menus, set the Offer Status to Published.
Part 2: Connect the Membership to a Product (Option 1)
Section titled “Part 2: Connect the Membership to a Product (Option 1)”This is the simplest method to link a purchase directly to a membership.
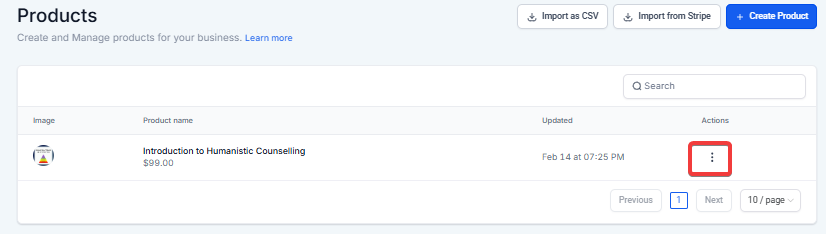
- To find your product list, click on Payments > Products.
- To edit the specific item, click 3 dots on the product you are selling.
3. To access pricing details, click on the Pricing tab and then click on the Price name itself.
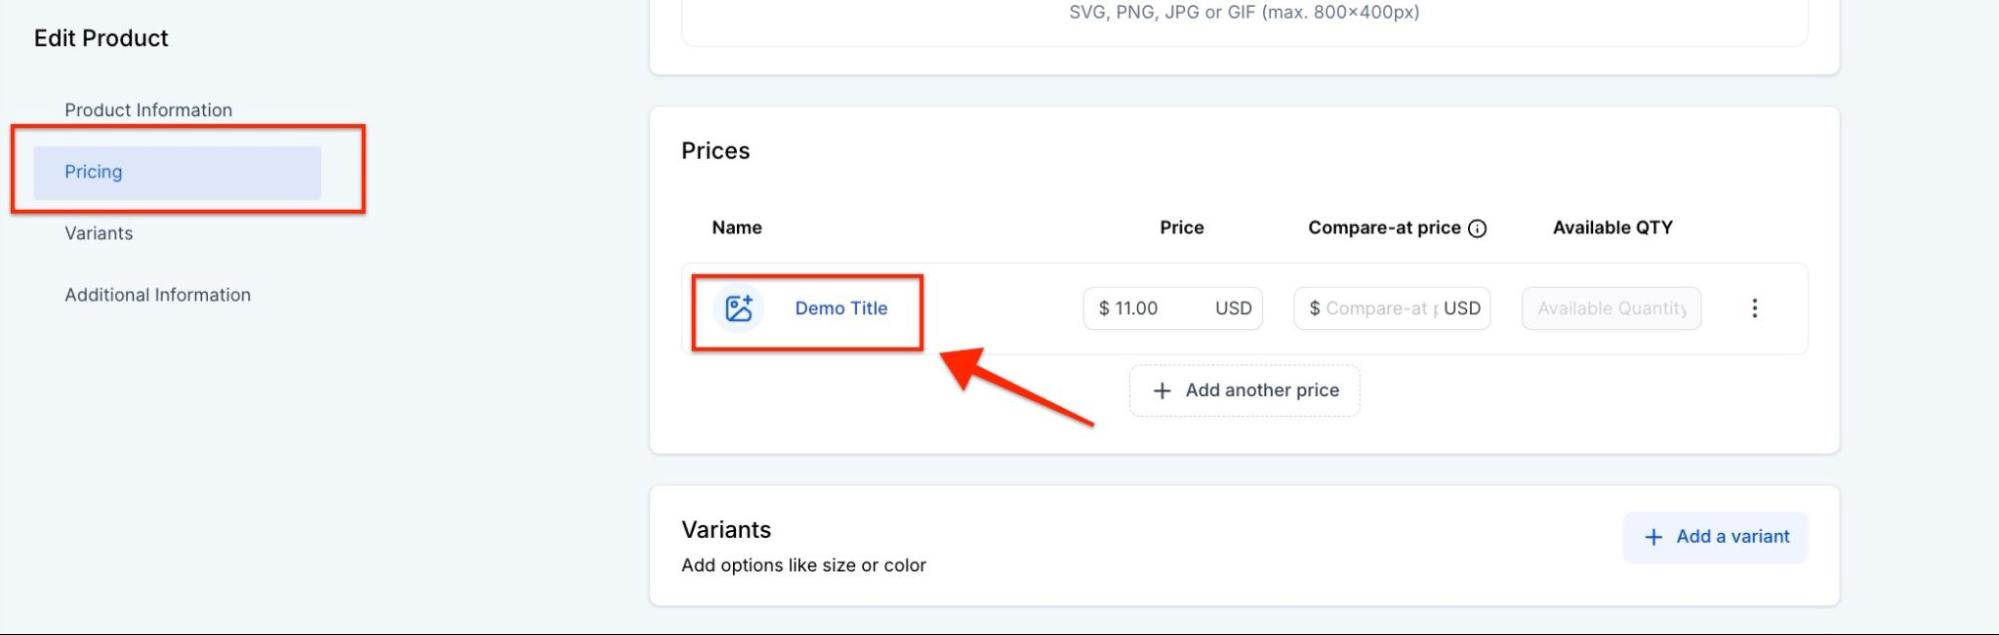
4. To reveal more settings, click on Additional options.
5. To link the access, toggle on Membership Offer and select your desired offer from the dropdown menu.
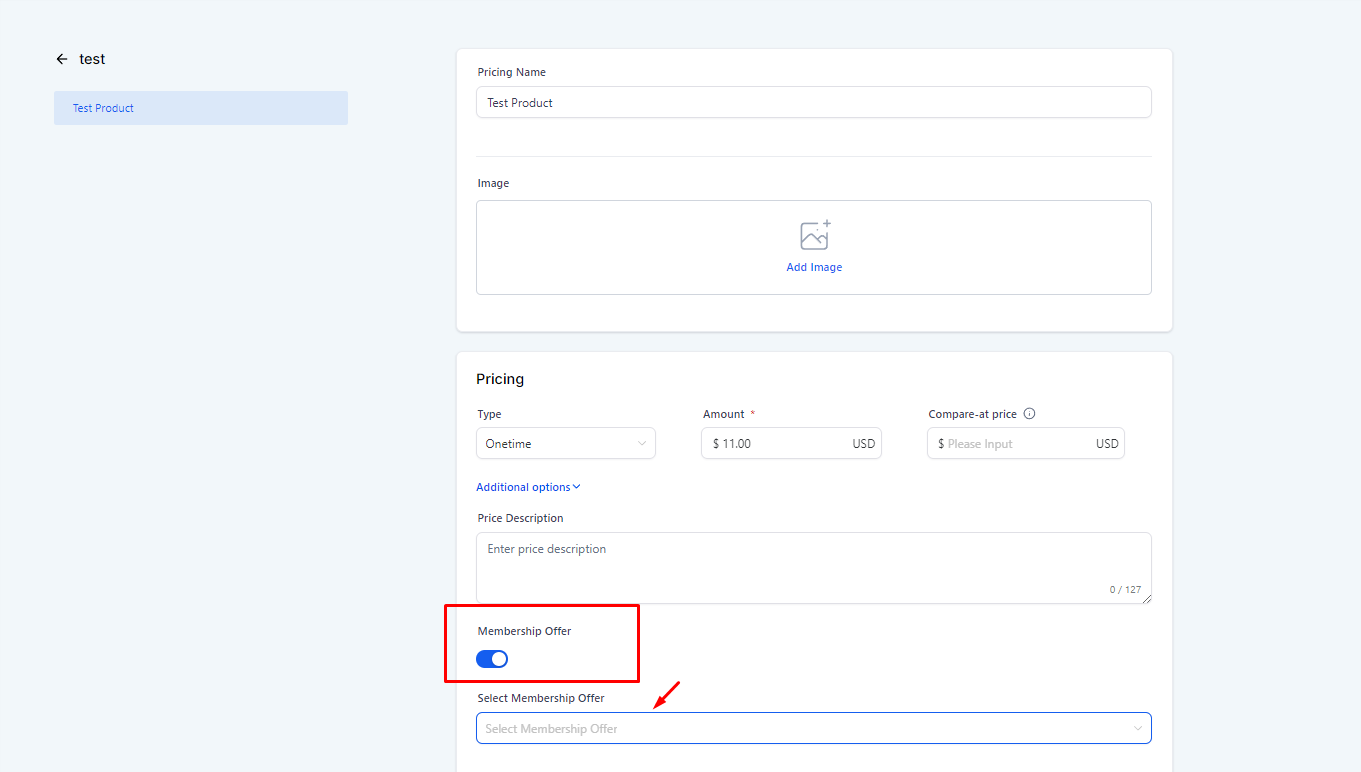
6. To confirm your changes, click Save.
5. Important: To ensure the update takes effect, you must remove and re-add the product to your specific funnel page order form.
Part 3: Automate with a Workflow (Option 2)
Section titled “Part 3: Automate with a Workflow (Option 2)”Use this method if you want more control, such as sending custom welcome emails or adding specific tags.
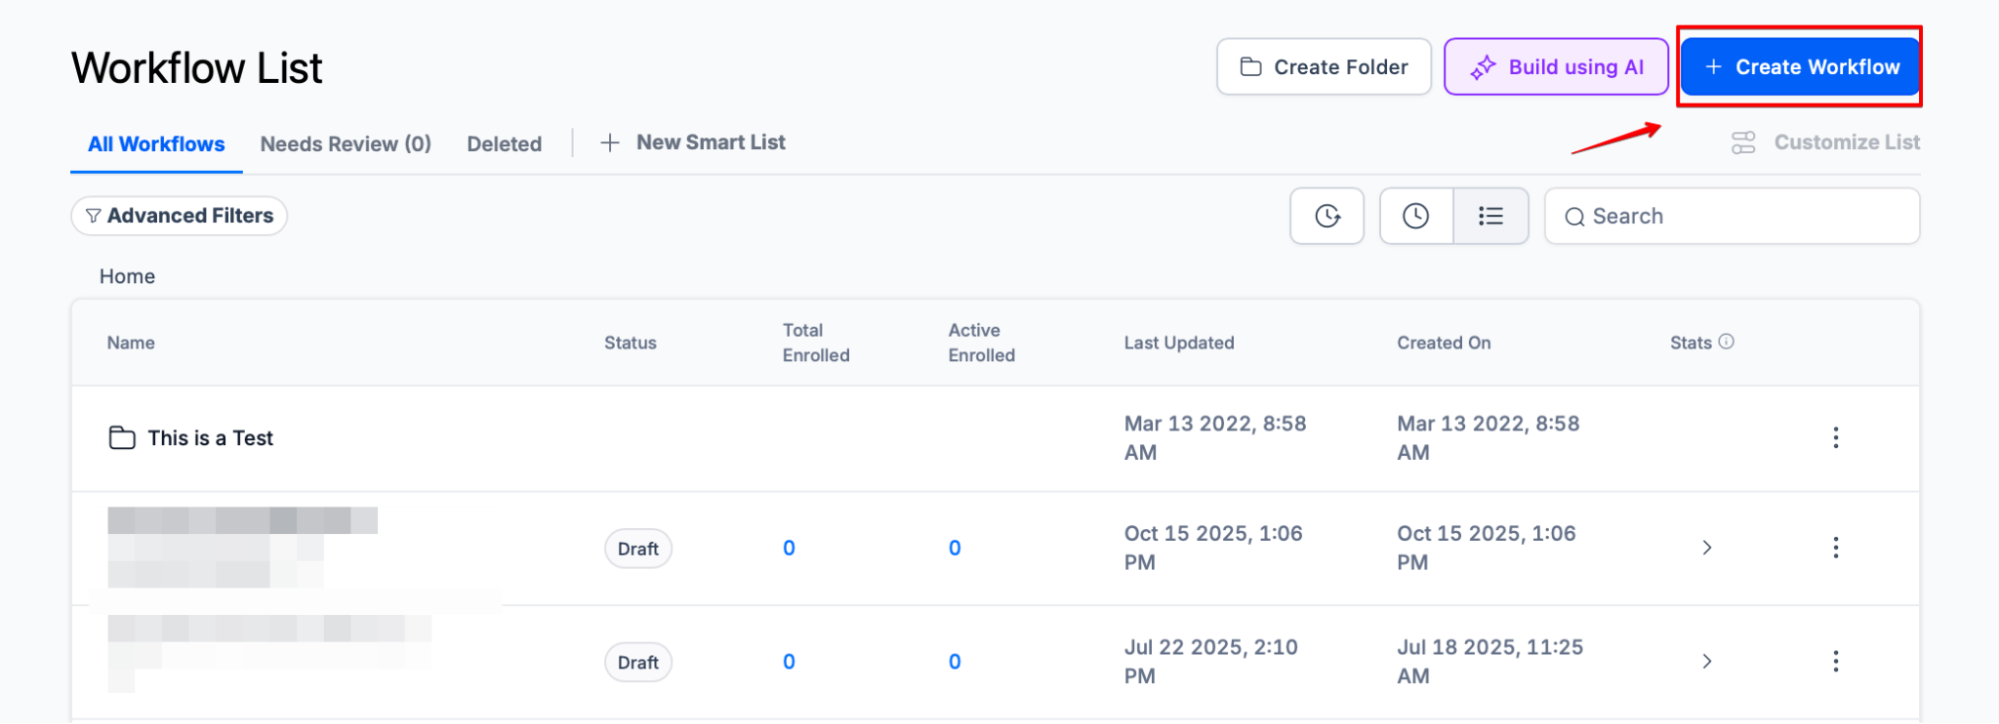
- To start the automation, navigate to Automation > Workflows and click Create Workflow > Start from scratch.
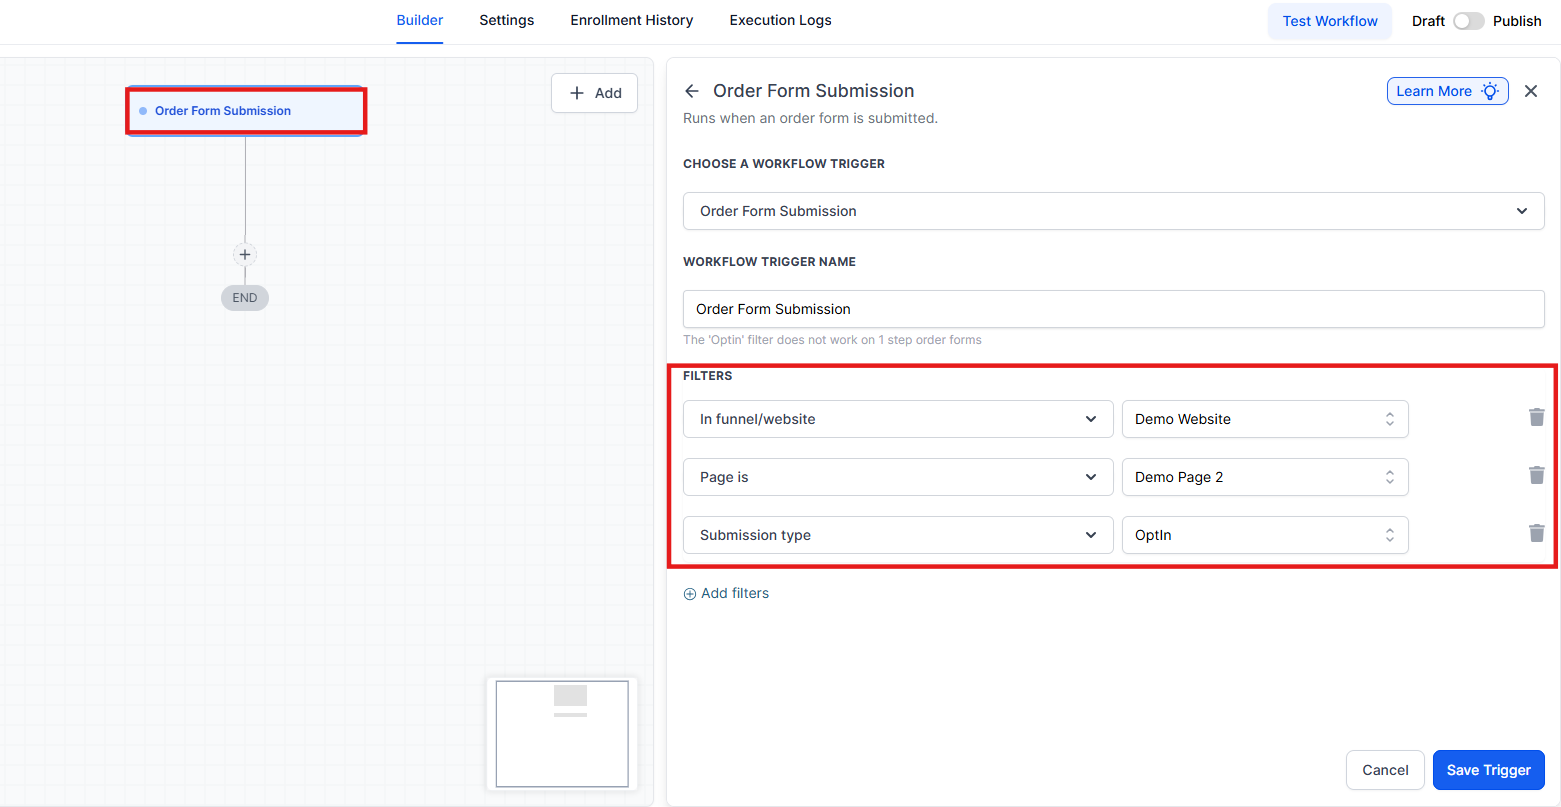
2. To set the trigger, click Add New Trigger, select Order Form Submission, and add filters to specify your funnel and page.
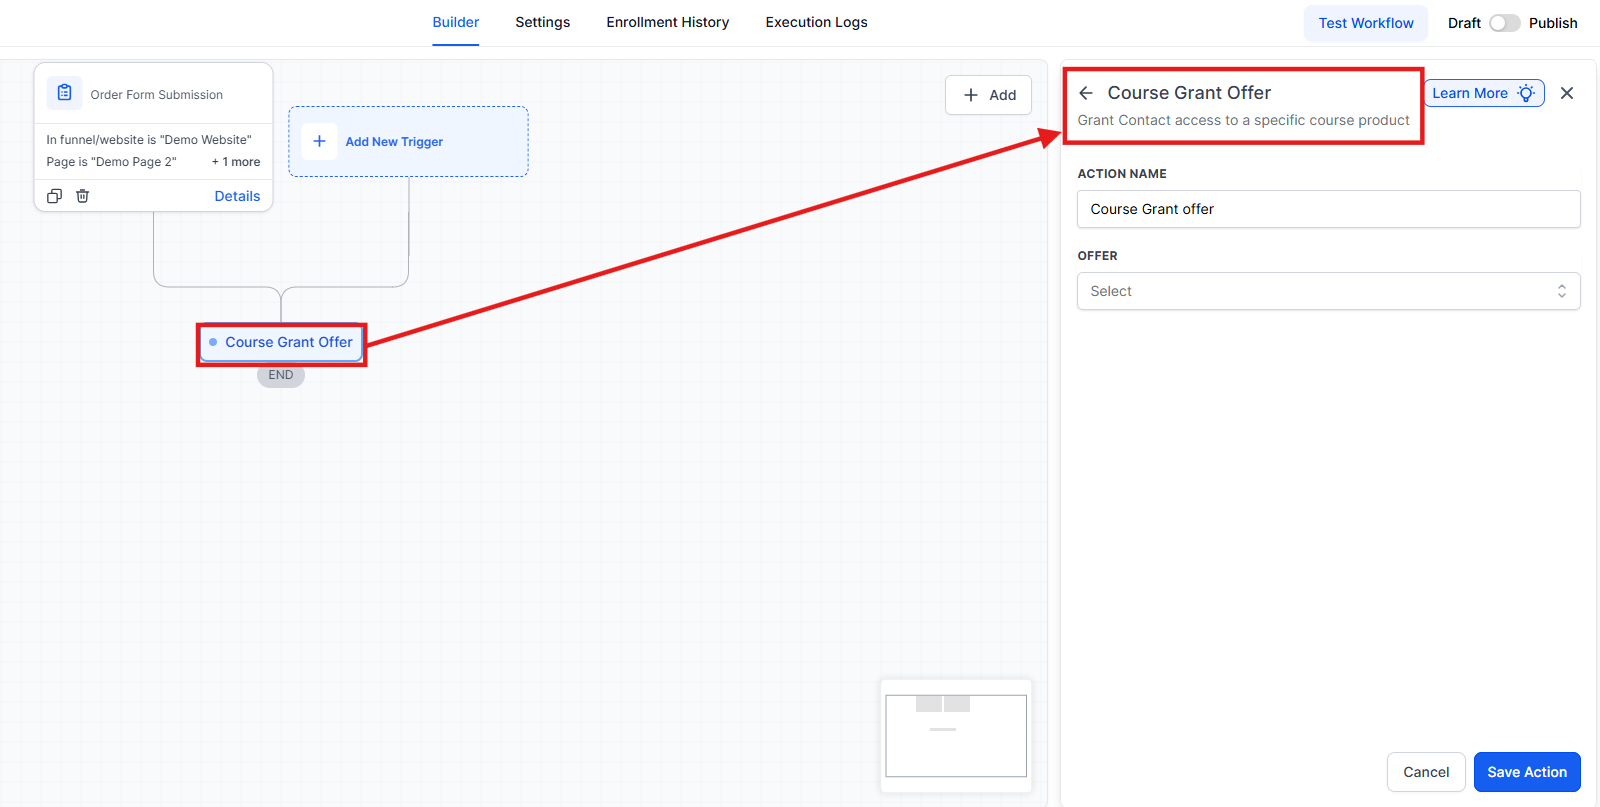
3. To grant access, add an action for Course Grant Offer and select your specific offer.
4. To activate the automation, toggle the workflow from Draft to Publish and click Save.
For a new signup and a customized email, create a separate workflow using the following steps:
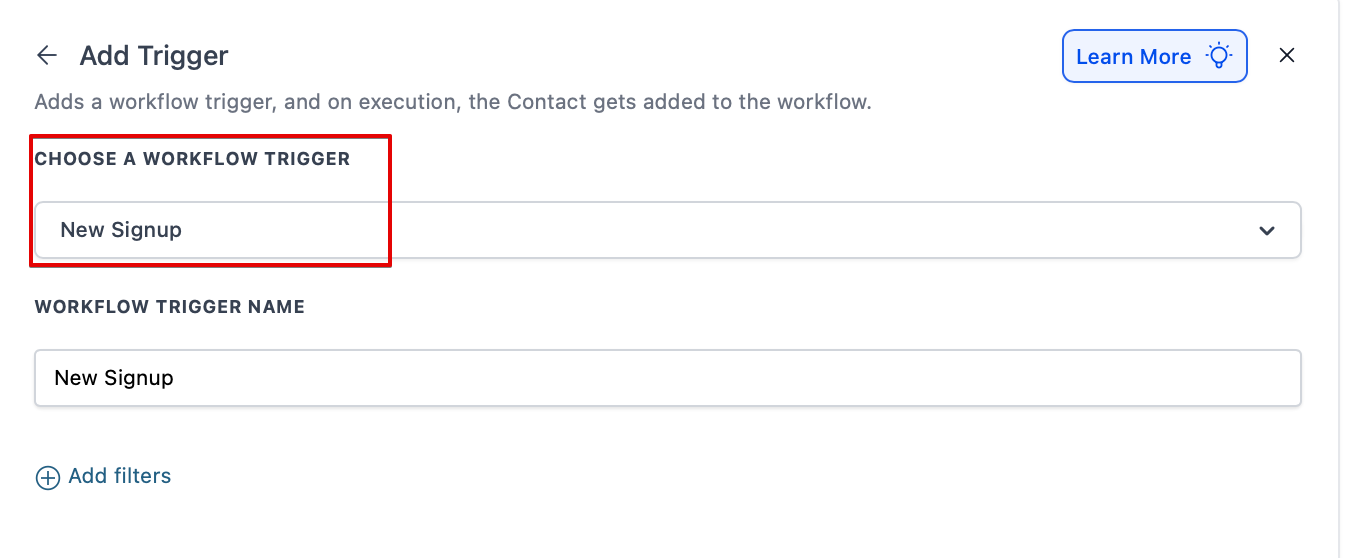
Section titled “For a new signup and a customized email, create a separate workflow using the following steps:”Add the ‘new sign up trigger’ from the courses category in the workflow builder:
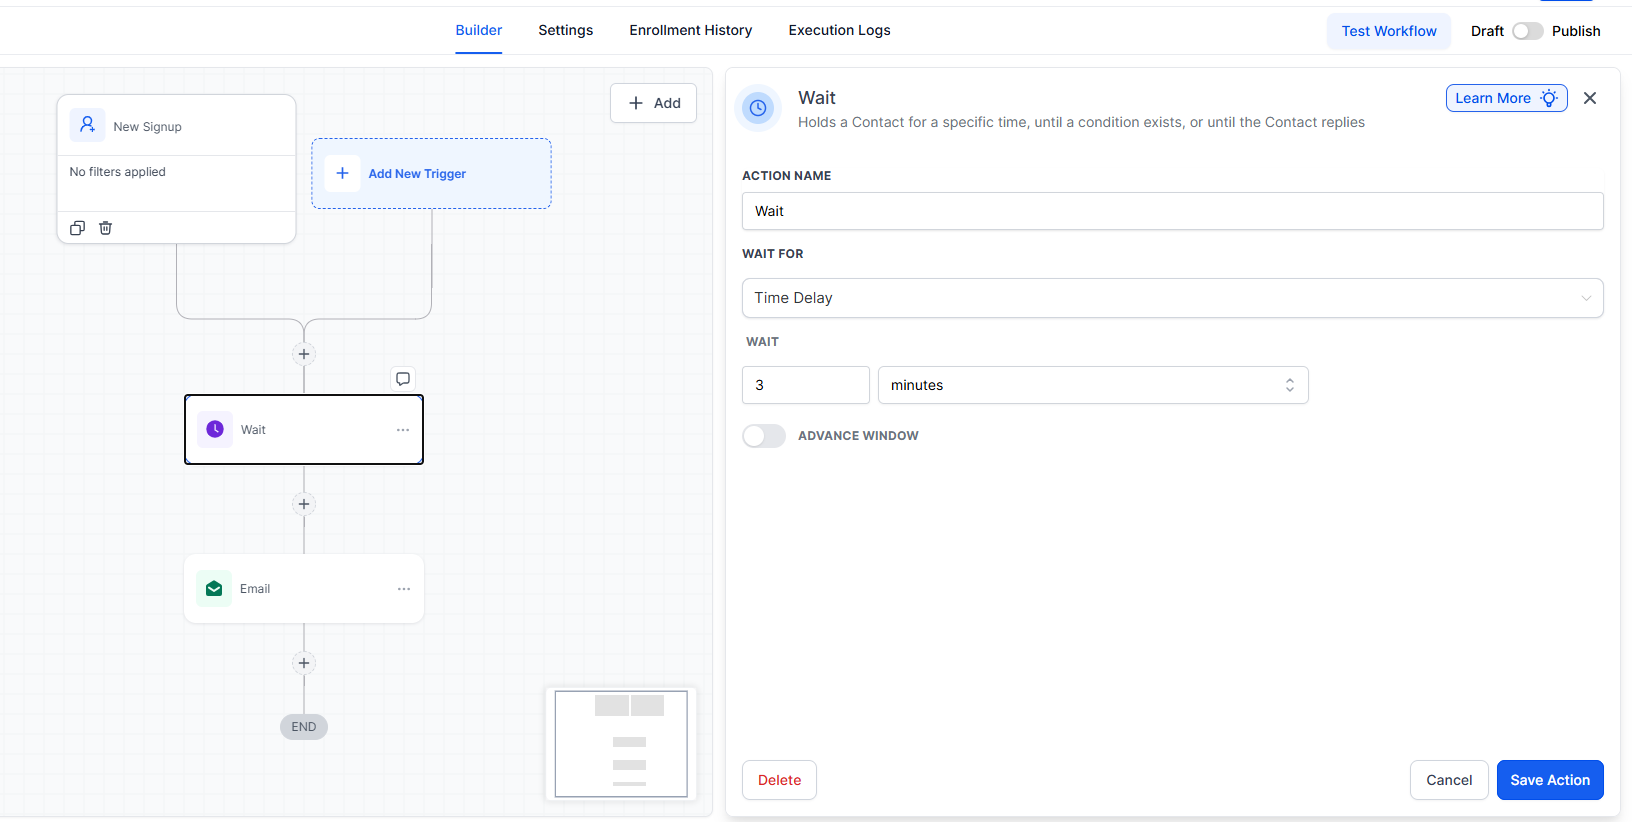
5. To give the system time to process the new account, add a Wait action for 3 minutes at the start of your workflow.
2. To create the message, add an Email action.
3. To personalize the greeting, use the Custom Values icon and select Contact > First Name.
4. To provide the login link, click the Custom Values icon, select Course > New Sign Up > Login URL.
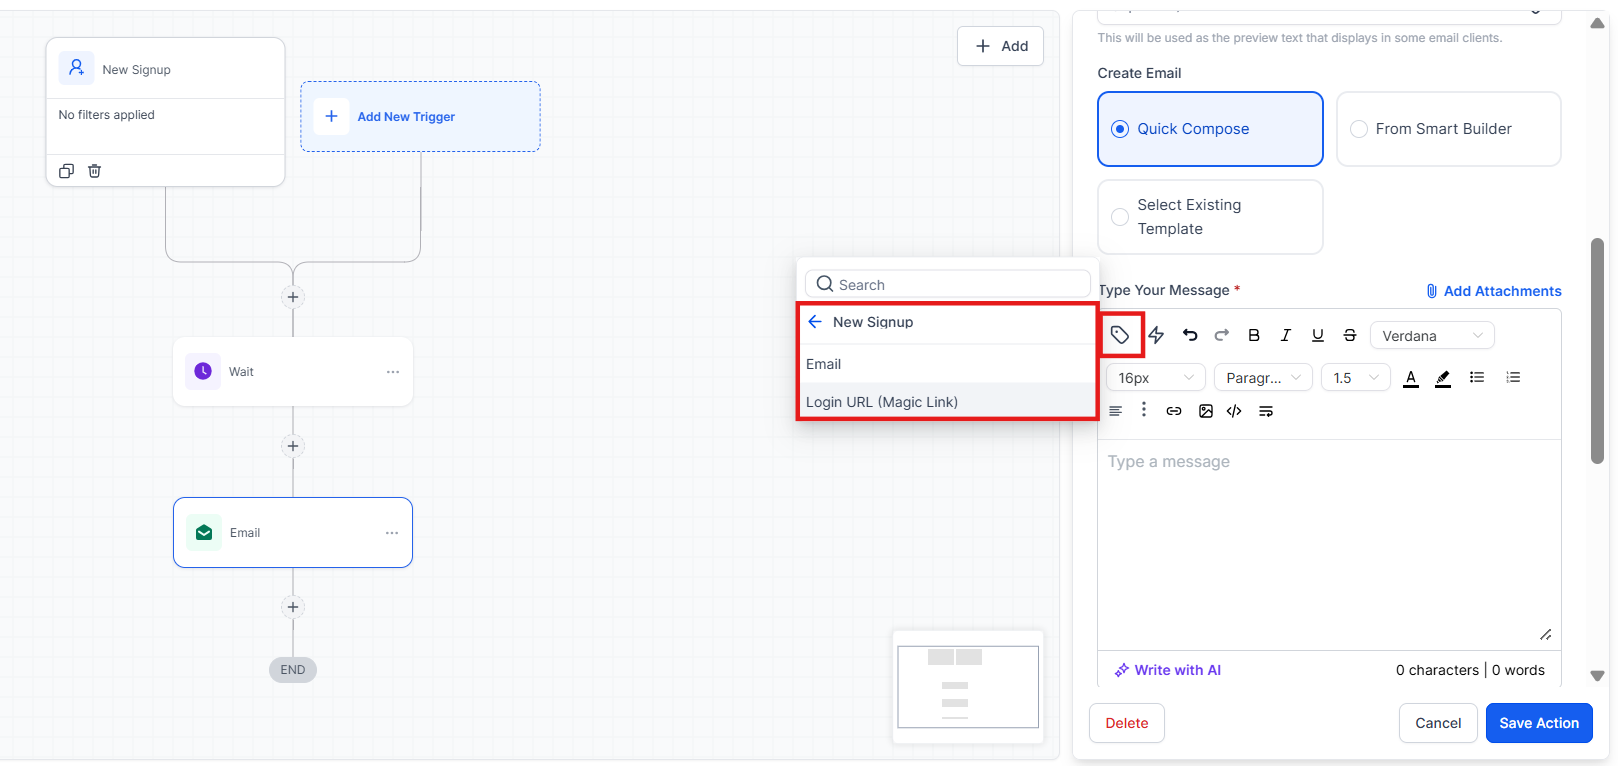
5. To include the auto-generated password, select the custom value for Course > New Sign Up > Password.
Expert Implementation Tips
Section titled “Expert Implementation Tips”- Design Custom Welcome Emails: Use the email builder to create branded templates rather than relying on plain text system emails.
- Manage System Emails: To avoid sending duplicate or confusing emails, you can disable default system notifications under Memberships > Settings > Email settings.
- Differentiate Members: Use temporary tags in your workflows to distinguish between new students and existing members who are just buying an additional course.
- Test Your Flow: Always run a test purchase using a test credit card or a 100% off coupon code to verify the email arrives with the correct links.
Question: How do I link my course to an offer in the membership editor?
Answer: Ensure your course is published first. Then, go to Membership > Products > Offers > Create Offer and select your course. You must publish the offer for it to be usable.
Question: What’s the difference between using a Workflow and the Membership Email Default option?
Answer: The “Membership Offer” toggle in the payment settings is a quick, “set-and-forget” method. The Workflow method is better for advanced users who want to send custom emails, add tags, or notify team members when a sale happens.
Question: How can I ensure new and existing members receive the correct emails?
Answer: Use temporary tags within your workflows. This allows the system to check if a contact already has a “Member” tag; if they do, you can skip the “Welcome/Account Created” email and just send a “New Course Added” notification.
Question: What should I do if system-generated emails aren’t working for existing members?
Answer: If existing members aren’t getting updated credentials, disable the default system emails in the Membership Settings. Use a custom workflow instead to send the necessary details.
Question: Do I need to re-add the product to the funnel after making changes?
Answer: Yes. If you update the “Additional Options” on a product, you must remove the product from the funnel page’s Products tab and add it back to refresh the connection.
Question: What happens if a customer buys the same membership offer twice?
Answer: If your workflow uses the “Grant Offer” action, the system will recognize the existing user. They will retain access, but you should use logic in your workflow to ensure they don’t receive the “New Member” welcome email a second time.
Question: If I update my course content, do I need to redo this connection?
Answer: No. This connection links the Offer to the Funnel. You can update your videos, lessons, and quizzes inside the Membership area as much as you want without ever touching your Funnel or Workflows.
Question: Why is there a “Wait” step recommended in workflows?
Answer: Adding a 1–3 minute wait period gives enough time to create the member record and generate the “Magic Link” credentials before the email is sent out.