Workflow Action: Facebook - Remove From Custom Audience
In the article, you will learn how to properly set up the Workflow Action: Facebook - Remove From Custom Audience
Please Note: You will need to connect your Facebook account, select a page, and have a customer added from a lead.
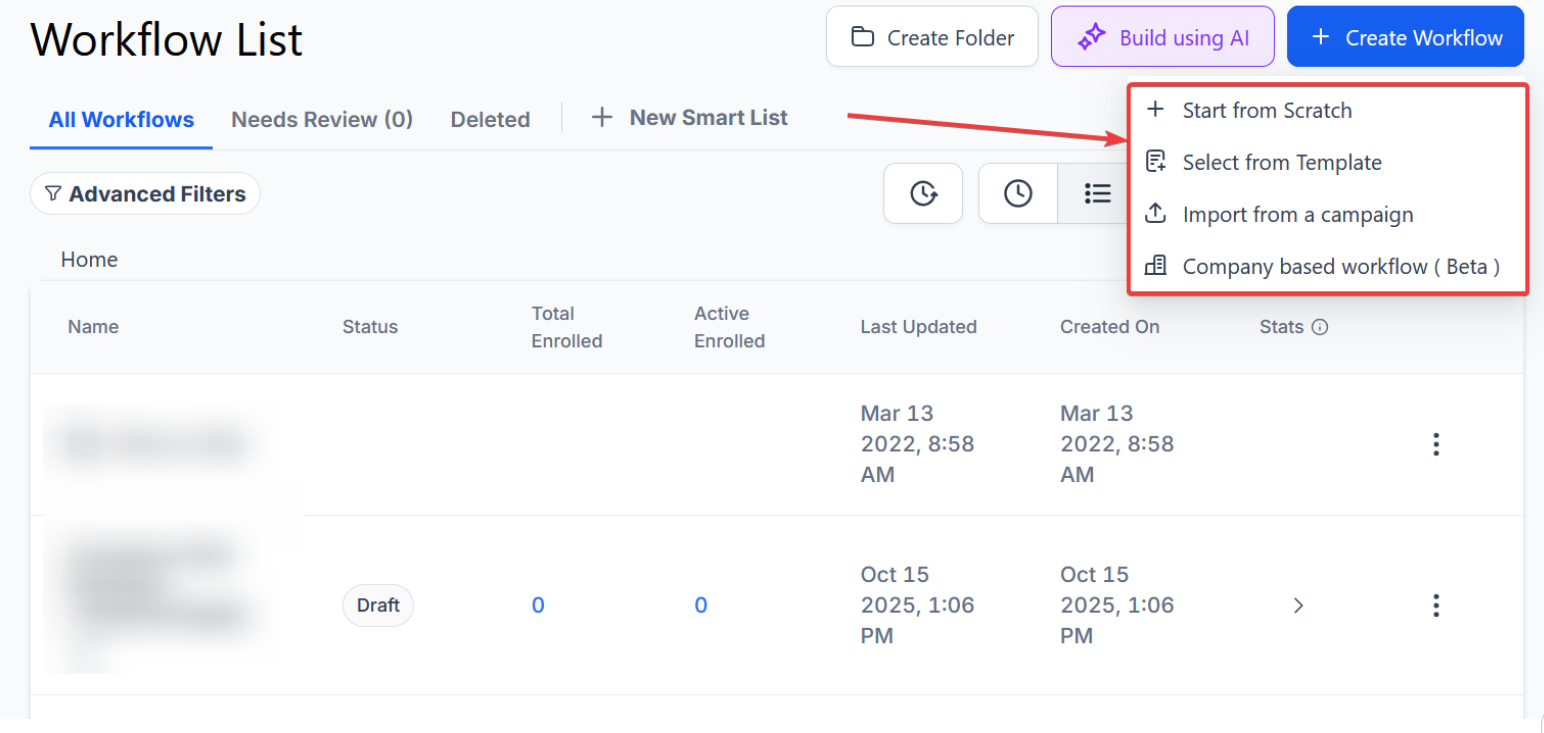
How to add this Action to a workflow?
Step 1: Start a new workflow or edit an existing one
Section titled “Step 1: Start a new workflow or edit an existing one”- Navigate to Automation > Workflows and start a new workflow or edit an existing one.
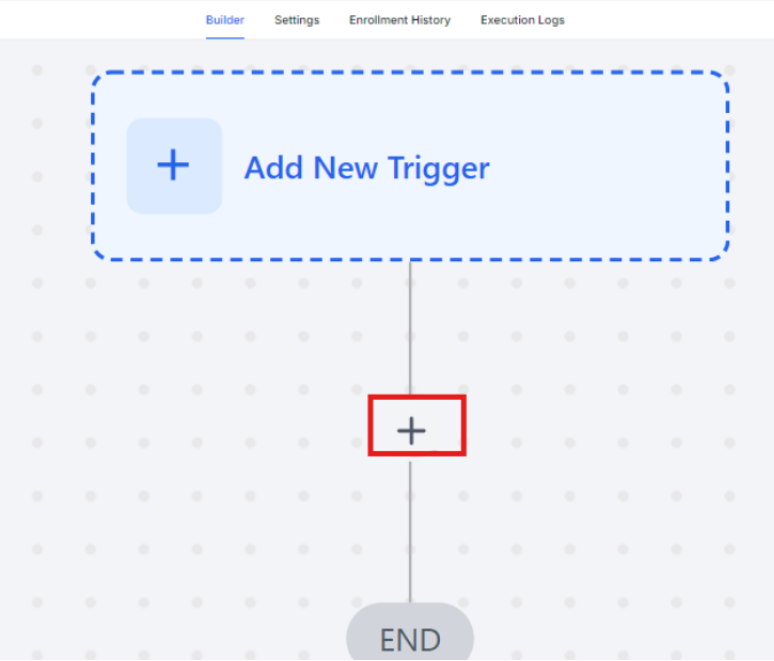
Step 2: Set up applicable Workflow Trigger(s). We have multiple articles available to explain the setup of each of the Workflow Triggers. Feel free to review our articles on these for more information on setting these up.
Section titled “Step 2: Set up applicable Workflow Trigger(s). We have multiple articles available to explain the setup of each of the Workflow Triggers. Feel free to review our articles on these for more information on setting these up.”Step 3: Setting up the Add to Custom Audience Action
Section titled “Step 3: Setting up the Add to Custom Audience Action”- Click on the “+” symbol below the trigger to add an action.
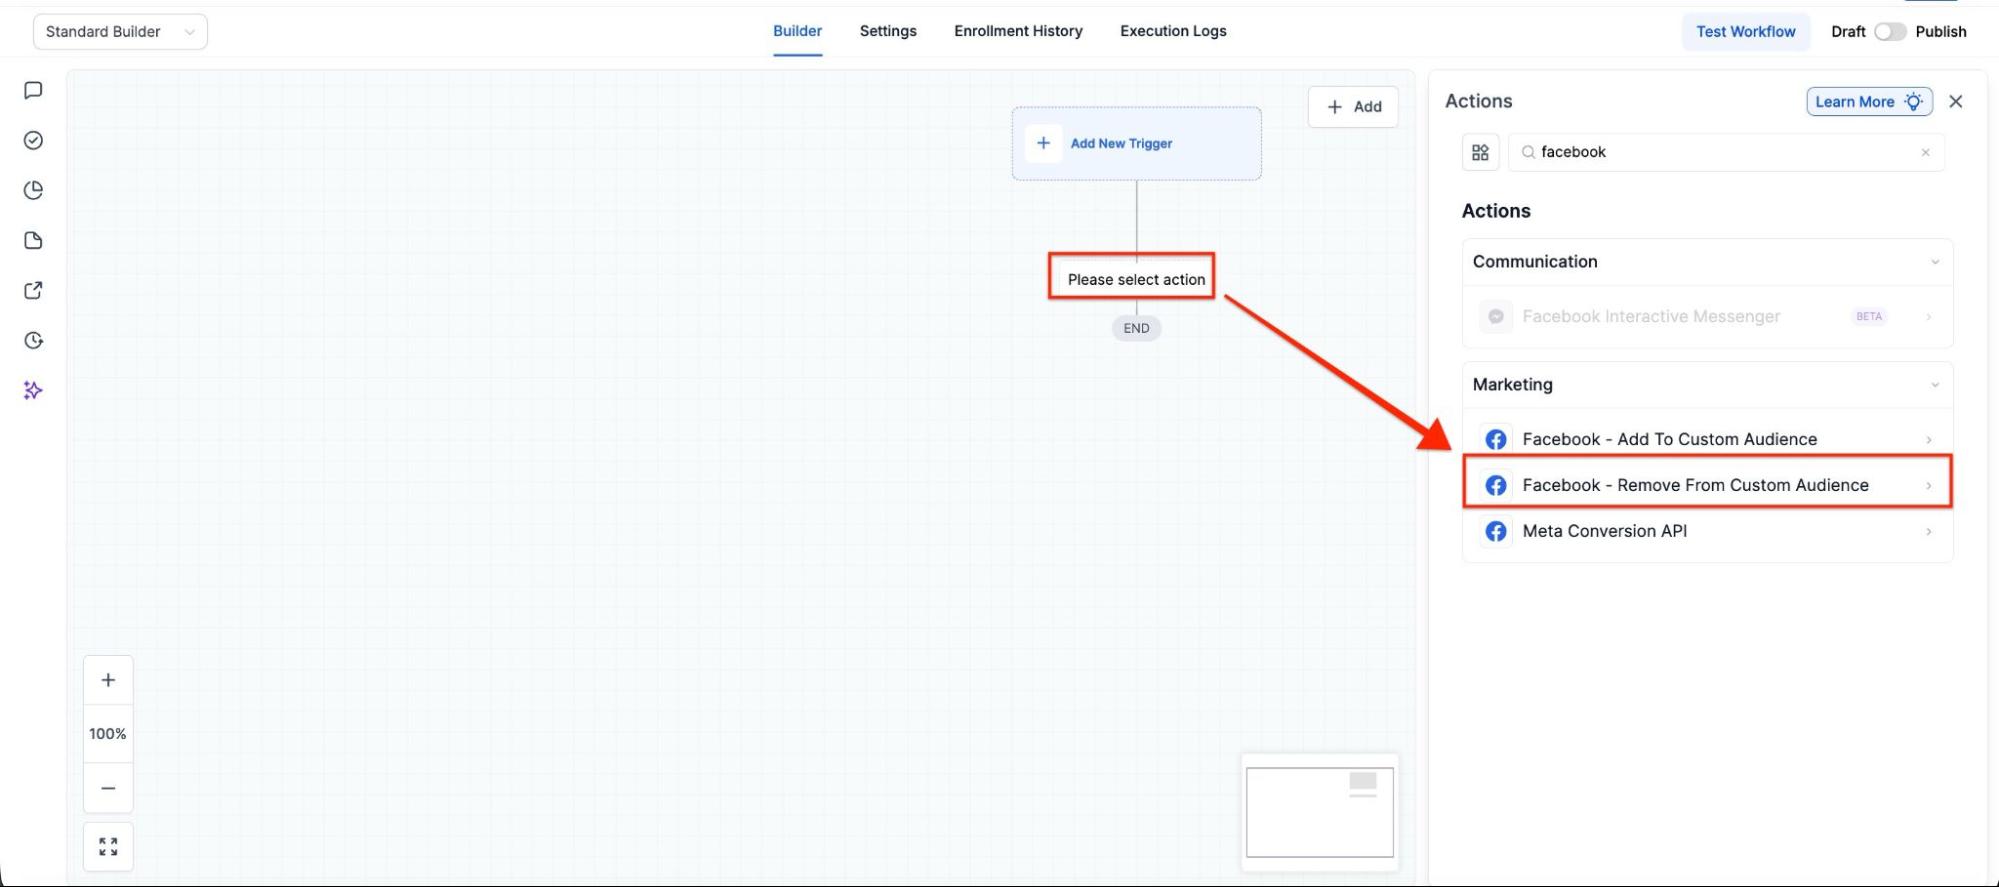
- Under Actions, select Facebook - Remove From Custom Audience in the Marketing section of the Actions Menu, or use the search feature. Upon selection, the Action setup menu will appear
- (Optional) You can change the workflow builder display name of this action using the textbox below Action Name. Note that this will only affect the display name within the workflow builder and has no other impact on the content or functionality of this Workflow Action.
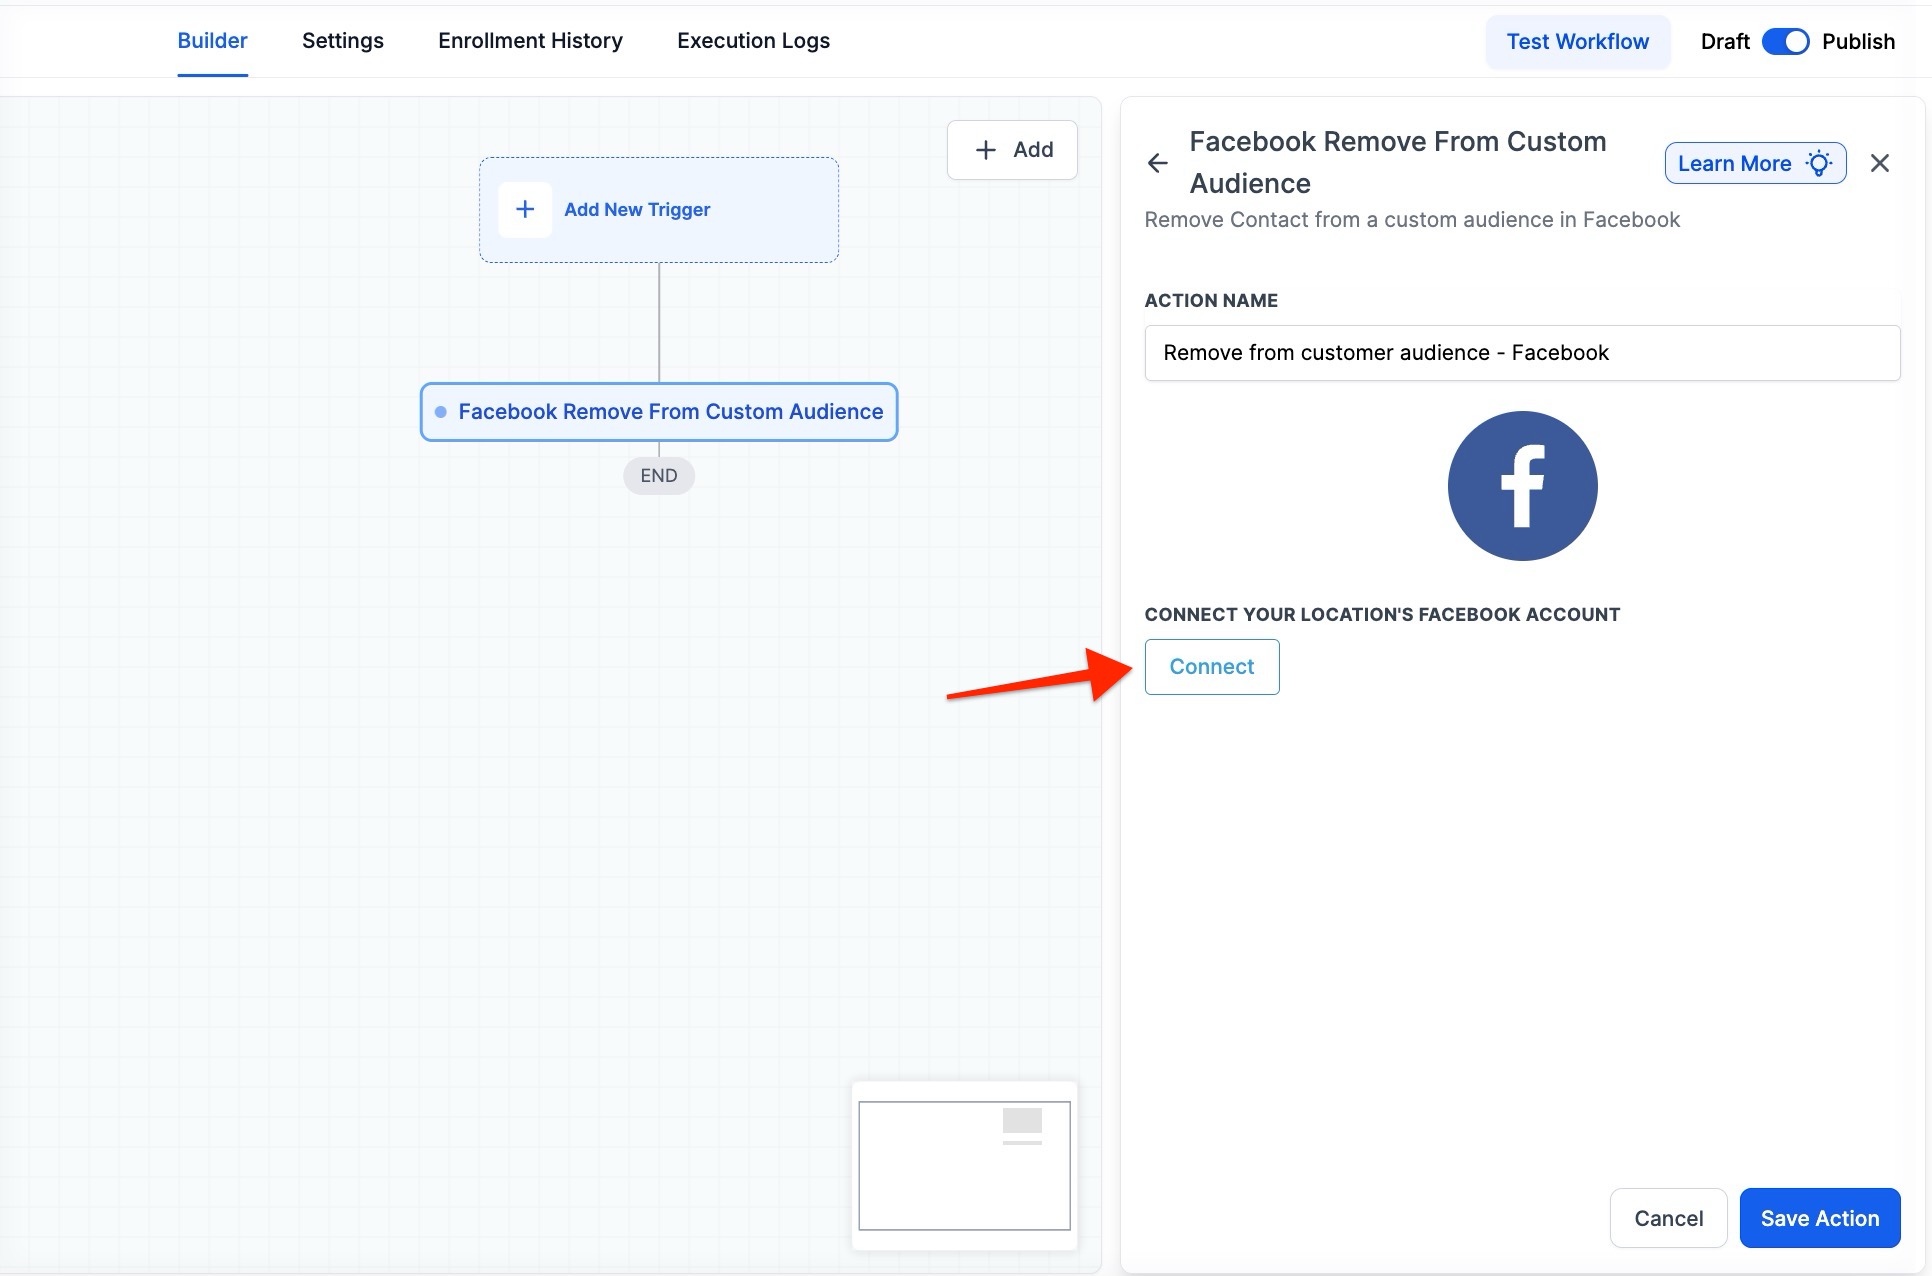
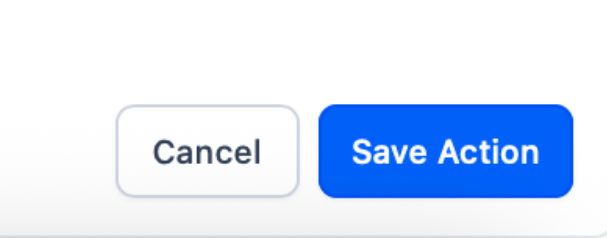
- Press the Save Action in the bottom right corner
Step 4: Press Save in the top right corner of your browser to save the workflow
Section titled “Step 4: Press Save in the top right corner of your browser to save the workflow”- If your Workflow is ready to be enabled, make sure the toggle switch under Save is set to Publish
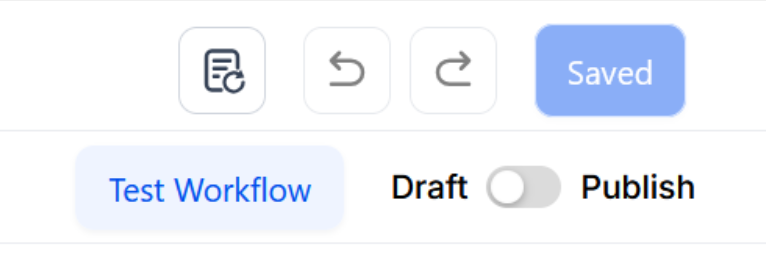
- Be sure to test your Workflow to make sure it is set up correctly using the Test Workflow button next to the Publish toggle switch.
- For an in-depth overview of Workflow Testing, see our article, “Using the Testing Features in Workflow.”
Now your Workflow is set up and ready to go with the Facebook - Remove From Custom Audience Workflow Action!
Question: What is the Facebook - Remove From Custom Audience action? Answer: This action removes a contact from a specified Facebook Custom Audience automatically when the contact enters the workflow.
Question: What do I need to set up this action? **Answer:
- A connected Facebook account.
- A selected Facebook page.
- A customer added as a lead in your system.
Question: How do I connect my Facebook account? Answer: Navigate to the Facebook integration settings in your platform and follow the prompts to connect your Facebook account and select your Facebook page.
Question: Can I change the name of this action in the workflow? Answer: Yes, you can optionally change the display name of the action within the workflow builder. This change only affects how the action is named in the builder and does not impact its functionality.
Question: What should I do if the action is not working as expected? Answer: Ensure that:
- Your Facebook account and page are correctly connected.
- The contact is in the specified Facebook Custom Audience.
- The workflow triggers and actions are correctly configured.
Question: Can I test this action before publishing the workflow? Answer: Yes, use the “Test Workflow” button to test the action and ensure it works as intended before publishing the workflow.
Question: What happens if the contact is not in the specified Custom Audience? Answer: If the contact is not part of the Custom Audience, the action will not remove them. Ensure the contact is included in the audience before executing the action.
Question: Is there a limit to how many people I can remove at once?
Answer: The workflow processes contacts one by one as they meet your trigger criteria. There is no set limit to the number of people the workflow can handle over time, making it perfect for high-volume accounts.
Question: How long does it take for a contact to be removed from Facebook once they hit this step?
Answer: The system sends the request to Facebook via API immediately. However, Facebook usually takes 15 to 60 minutes to refresh their audience segments and stop showing ads to that specific user.