How to add animations to text elements in the website builder
How to add animations to text elements in the website builder
Adding animations to text elements on your website can significantly enhance the visual appeal of your content, making it more engaging for your audience. Whether you want to capture attention, emphasize key messages, or simply add a touch of creativity, text animations can transform a standard page into an interactive experience. In this article, we’ll guide you through adding animations to text elements using a website builder, highlighting key features and benefits, and providing step-by-step instructions.
How to Use Text Animations in the Website Builder
Section titled “How to Use Text Animations in the Website Builder”Step 1: Access the Editor
Section titled “Step 1: Access the Editor”1. Navigate to Sites on the left: Click on the funnel or website tab on the top right to access the editor from the builder.
2. Select the Page: Choose the funnel or webpage where you want to add the animation and click the edit button to enter the page editor.

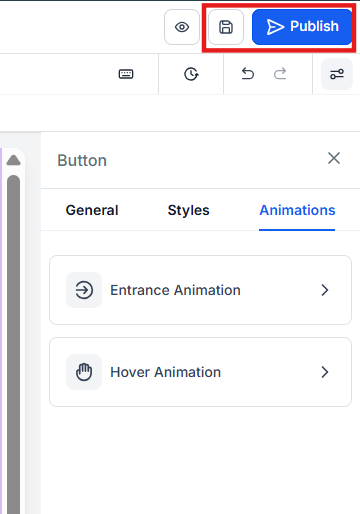
Step 2: Choose the Text Element
Section titled “Step 2: Choose the Text Element”1. Select the Text Element: Click on the text element you want to animate. This could be a heading, subheading, paragraph, or bullet list.
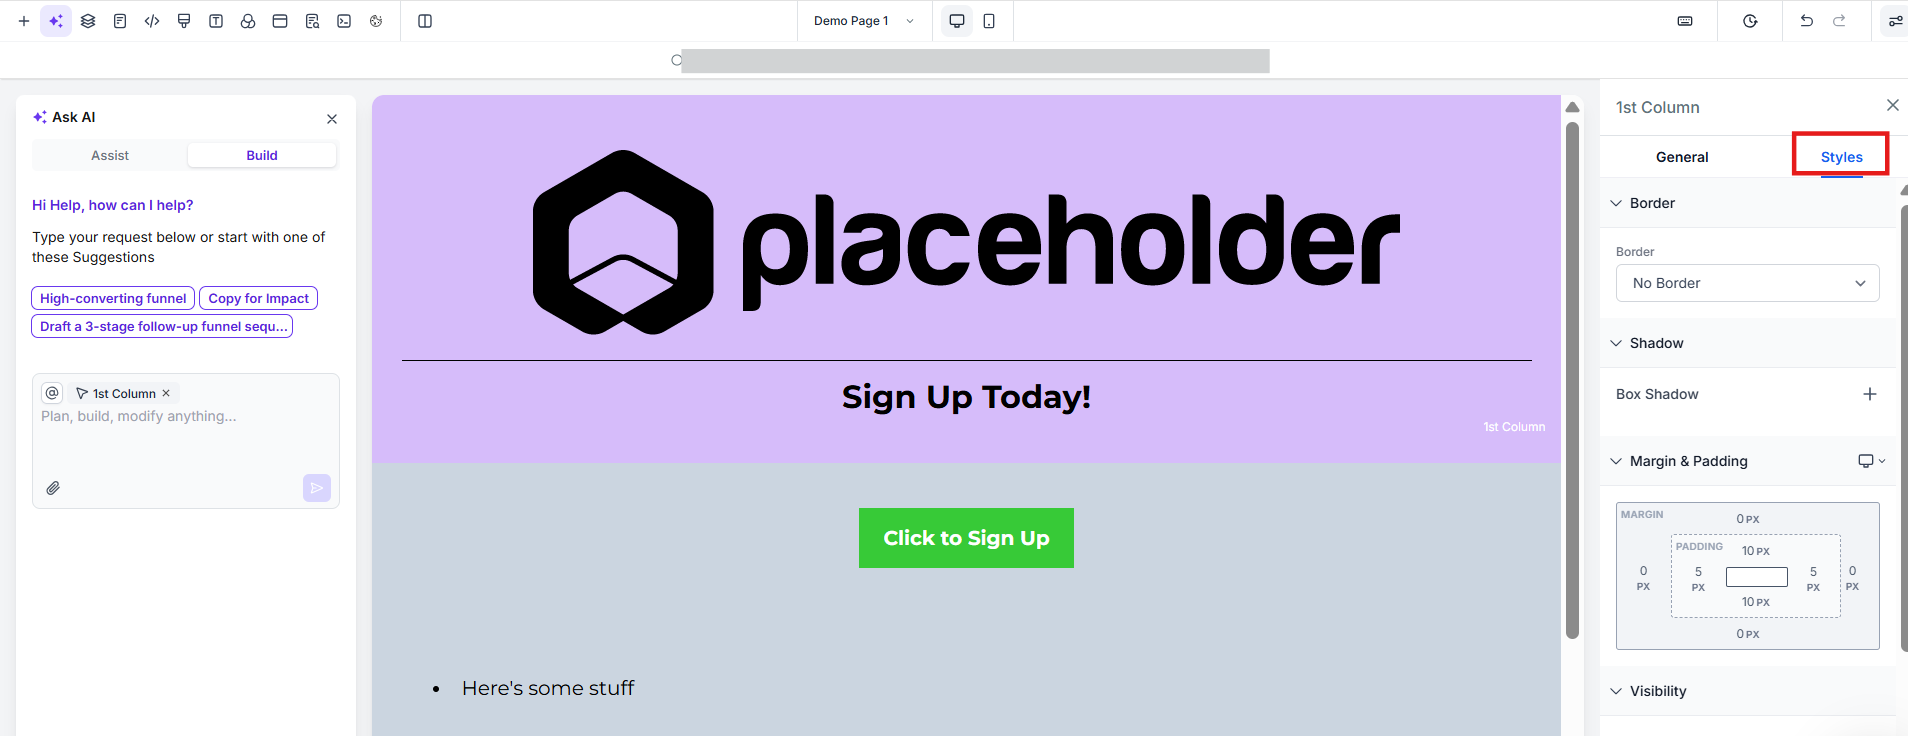
2. Open the Style Editor: In the editor, navigate to the style settings for the selected text element.
Step 3: Apply the Animation
Section titled “Step 3: Apply the Animation”1. Find the Animation Settings: Look for the animation tab
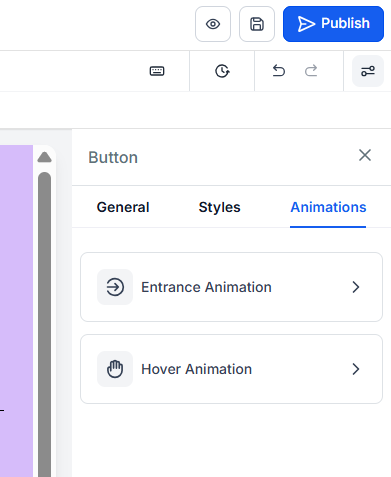
2. Choose an Animation: Browse through the available animations such as fade, slide, bounce, rotate, and zoom. Select the one that best suits your content and audience.


3. Customize and Adjust the Animation: Adjust scale, duration, delay, and easing controls to fine-tune your animations for a unique look and feel. Choose your desired animation, and then adjust the settings as needed using the “Adjust Animation” button at the bottom.


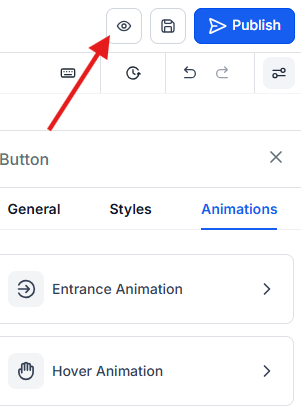
4. Preview the Animation: You can view the effect directly within the builder, allowing you to see how it will look on the live page.
Step 4: Finalize and Publish
Section titled “Step 4: Finalize and Publish”- Save Your Changes: Once you’re satisfied with the animation, save your changes.
- Publish the Page: After saving, publish the page to make the animations live for your audience
These animations are not only for text elements. You can also apply them to pictures and other visual elements within your website. This feature allows for even greater creativity and engagement by bringing various elements of your page to life.
Key Features and Benefits
Section titled “Key Features and Benefits”Dynamic Entrance Animations for Text Elements
Section titled “Dynamic Entrance Animations for Text Elements”Animations offer a dynamic way to bring the text to life. Whether it’s a heading, subheading, paragraph, or bullet list, adding animations can help capture your visitors’ attention and make your content more memorable.
Trigger on Scroll
Section titled “Trigger on Scroll”Animations can be set to trigger when the text comes into view as users scroll through the page. This adds an element of surprise and keeps the audience engaged as they explore your content.
Real-Time Preview
Section titled “Real-Time Preview”One of the most valuable features is the ability to see animations in action while you’re still in the builder. This ensures that you can choose the best effect for your content without having to publish the page first.
Seamless Integration and Compatibility
Section titled “Seamless Integration and Compatibility”Animations are easy to implement with an intuitive interface and work consistently across devices and screen sizes, ensuring a smooth user experience no matter how your audience accesses your site.
Pro Tips
Section titled “Pro Tips”- Use Animations Sparingly: While animations can be eye-catching, overusing them can overwhelm visitors and distract them from your content. Stick to using animations on key elements where you want to draw attention.
- Match Animation Style to Content: Ensure that the animation style complements the tone and message of your content. For example, use a fade for professional content and a bounce for more playful or casual messaging.
- Test Across Devices: Before finalizing, preview your page on different devices to ensure that the animations work smoothly on all screen sizes.
Use Cases
Section titled “Use Cases”E-Commerce Websites
Section titled “E-Commerce Websites”E-commerce sites can use animations to highlight product features or special offers, making important information stand out and guiding customers toward making a purchase.
Portfolio Websites
Section titled “Portfolio Websites”For designers, artists, and creatives, text animations can add a layer of creativity to portfolios, making them more engaging and reflective of the individual’s style.
Corporate Websites
Section titled “Corporate Websites”Corporate websites can use subtle animations to make key information more noticeable without compromising the professionalism of the site.
By following these steps, you can easily add animations to text elements in your website builder, making your content more dynamic and engaging for your audience. Whether you’re aiming for a subtle effect or a bold entrance, these animations provide a versatile tool for enhancing your online presence.
Question: What animation controls can I fine-tune? Answer: You can adjust the scale, duration, delay, and easing controls to customize the animation’s effect.
Question: Are these animations SEO-friendly? Answer: Yes, animations do not interfere with SEO as they do not alter the content itself. However, ensure that your site’s load time remains optimized, as heavy animations could potentially affect performance.
Question: Can I trigger animations based on user interaction? Answer: The current feature set includes animations that trigger on scroll. Future updates may include options for hover or click-based triggers.
Question: Can I change the direction of a “Slide” animation? Answer: Yes. Within the animation settings, you can choose the direction (From Left, From Right, From Top, From Bottom). Choosing “From Bottom” for text often feels the most natural as it mimics the upward direction of the user’s scroll.