Locations in Services (v2)
The purpose of this article is to guide you through the process of establishing and managing physical meeting points within your scheduling ecosystem. By defining where your services occur, you create a seamless experience for your customers, ensuring they know exactly where to go for their appointments. Whether you operate from a single storefront or manage a global network of offices, these settings allow you to align your physical infrastructure with your digital booking workflow.
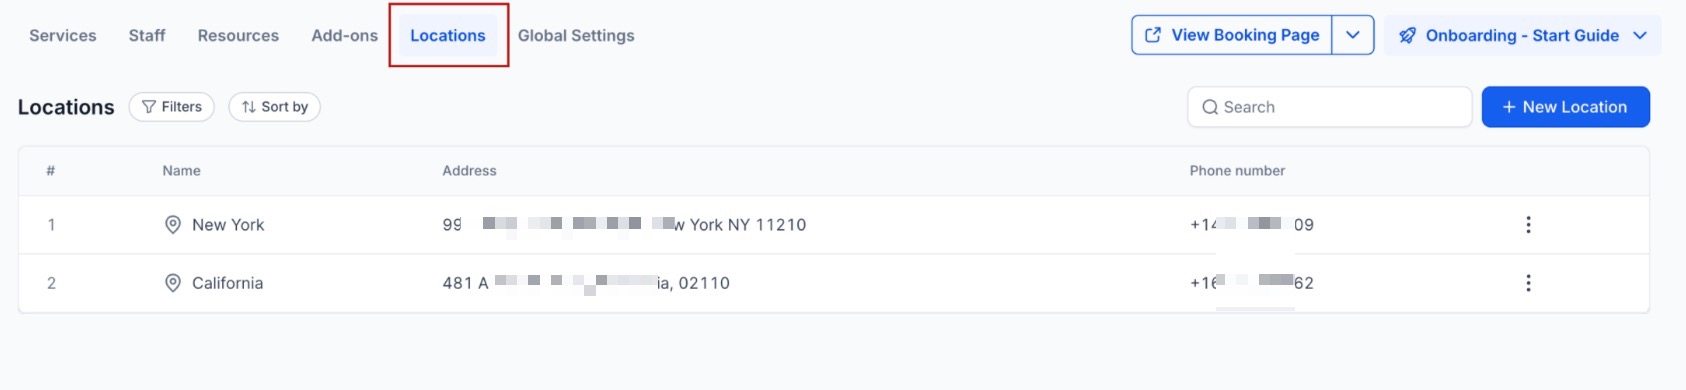
OverviewLocations represent the meeting point between you and your clients, whether it’s an office, storefront, or specific physical address. By default, your account uses the address provided in Settings > Business Profile as your primary location. To change these details, navigate to Calendar Settings > Services > Locations and select Edit.
Handling Multiple Locations
Section titled “Handling Multiple Locations”If your company operates from multiple physical locations, you can enable the Multiple Locations setting. This tool is specifically built for organizations that maintain several branches or office spaces.
How to turn this on:
Section titled “How to turn this on:”- Open Calendar Settings and select Services.
- Look for Global Settings and switch the toggle for Enable Multiple Locations to the on position.
- After you activate this, you will be able to include additional addresses within the Locations tab.

Key Features and Benefits
- Customizable Meeting Points: Define specific physical addresses, offices, or retail spaces where services are rendered.
- Visual Branding: Upload unique images for each location to help customers identify the branch during the booking process.
- Dynamic Scheduling: Link specific staff members to different locations based on their weekly rotation or fixed shifts.
- Scalability: Start with a single default address and expand to an unlimited number of branches as your business grows.
- Enhanced Customer Clarity: Reduce confusion by providing clear addresses and contact numbers on the booking confirmation page.
How to add a New Location
Section titled “How to add a New Location”Once you have enabled the multiple locations feature, follow this process to set them up:
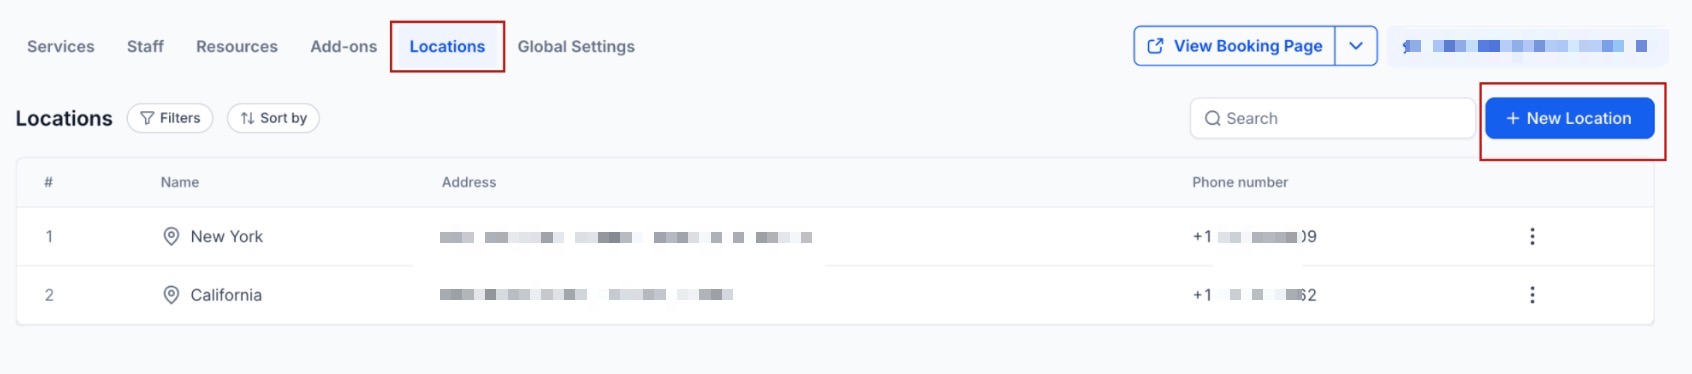
- Open the Locations tab.
- Select the Add New button.
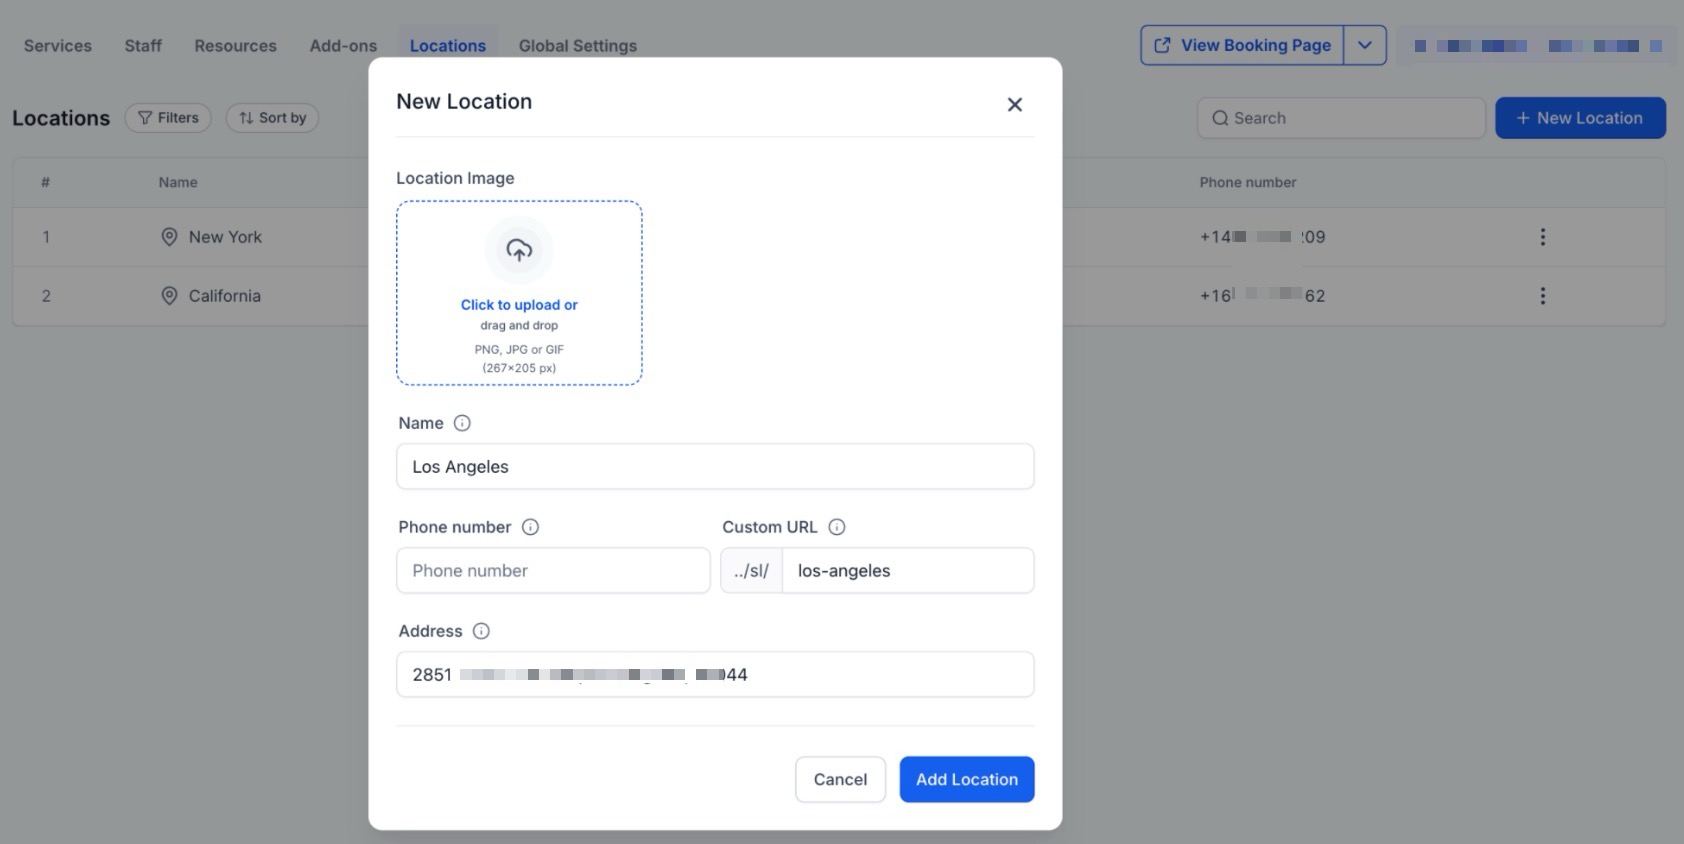
- Choose/Upload a location image to display on your booking page.
- Input the location name, phone number, and physical address for the site.
- Press Save Location to finalize.
Note: Online Meetings Direct support for platforms like Zoom or Google Meet is currently unavailable. If you need to host online sessions, you can create a static meeting link and paste it into the Address field instead.
Ask the Booker Location
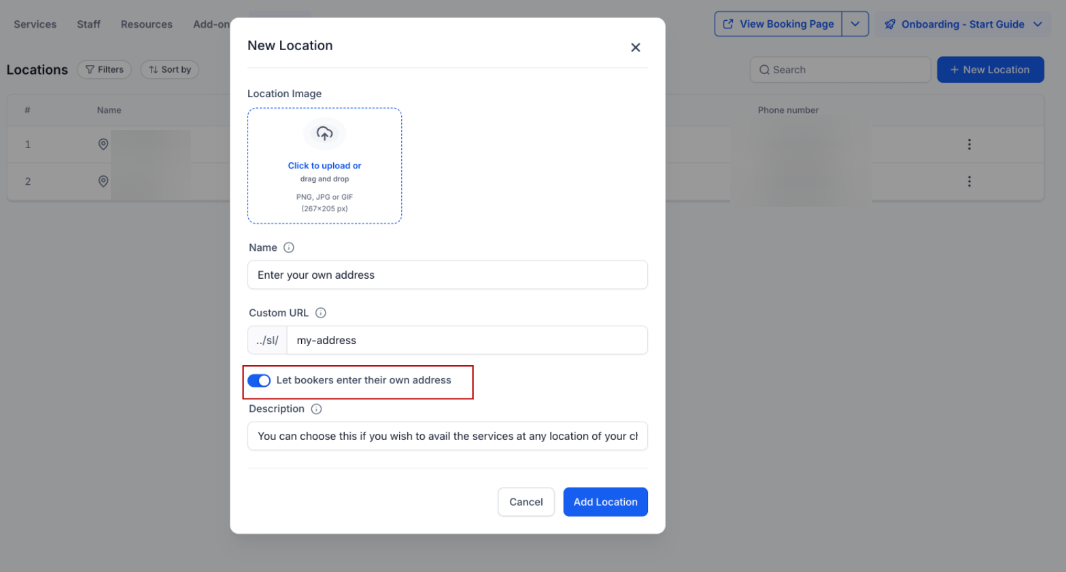
This supports mobile and on-site service models by allowing clients to provide their own meeting address during booking. By enabling this option, ensures service providers receive precise location details for every off-site appointment, streamlining the workflow for field repairs, consultations, and home visits.
Navigate to the location management section within your service settings.Enable “Let bookers enter their own service address” within your location settings and assign it to the relevant staff members’ availability.
Managing Staff Schedules Across Locations
Section titled “Managing Staff Schedules Across Locations”After setting up your locations, you must define when your team is available to ensure services link to the right places. Follow these steps to complete the configuration:
- Open Calendar Settings, select Services, then Staff, and choose a staff member to edit.
- Use the Assign Services tab to select the specific tasks that person performs.
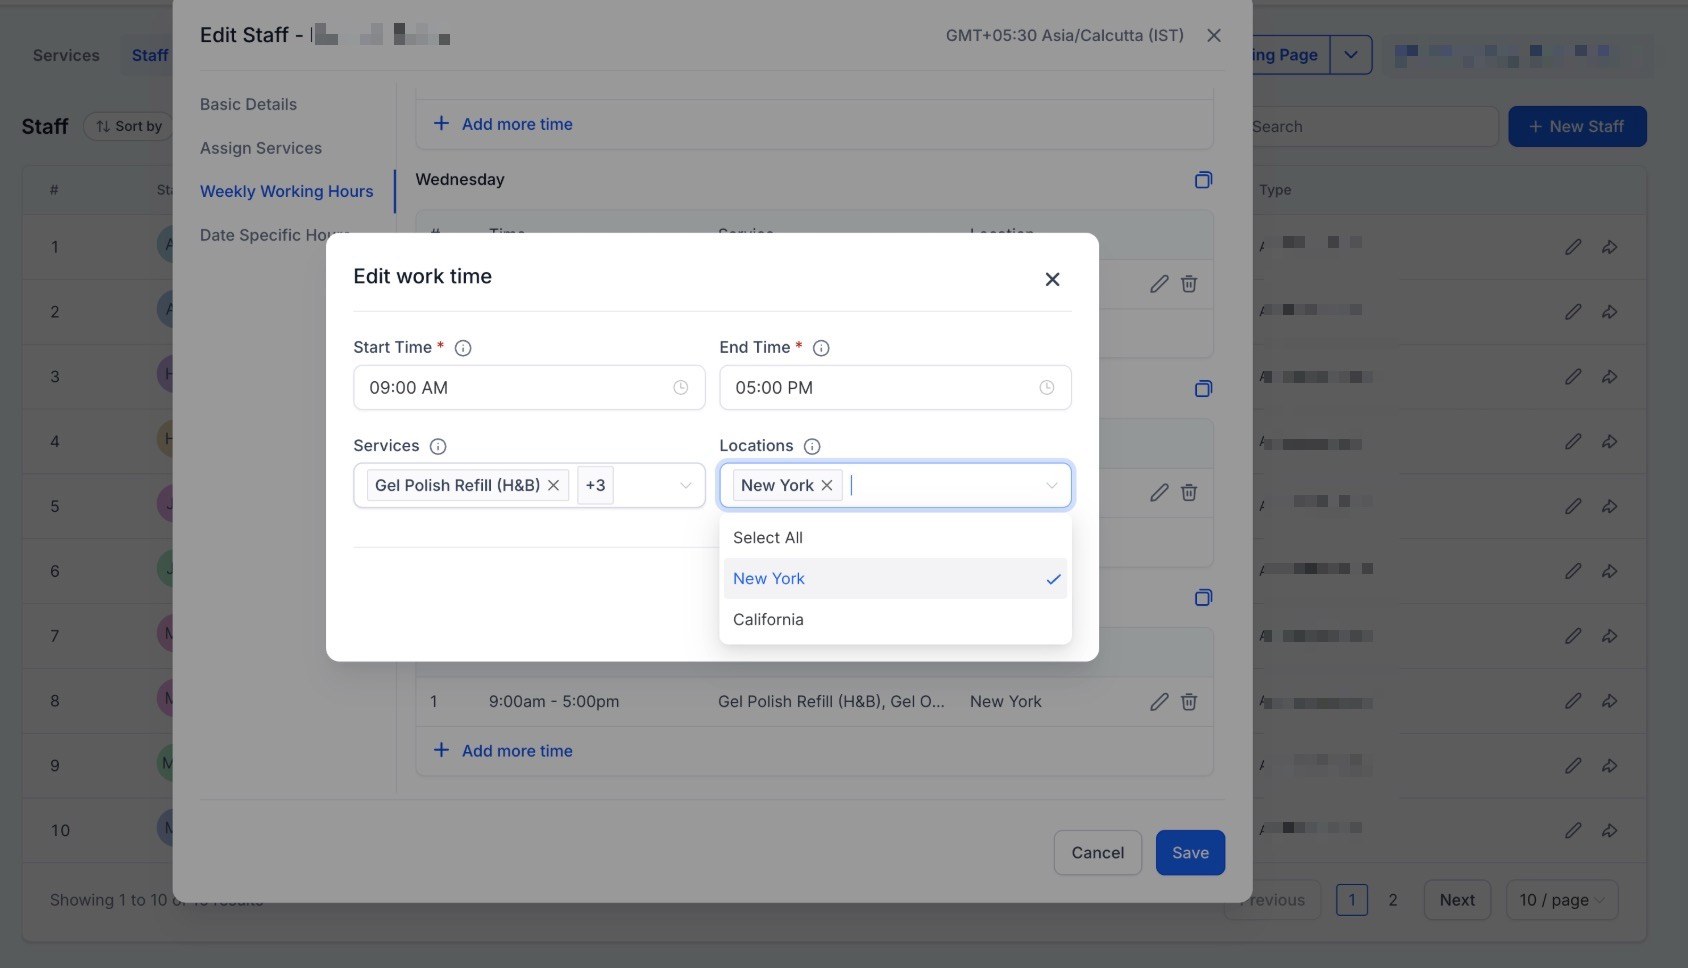
- Switch to the Weekly Working Hours tab.
- Input the hours that the staff member is available for each service at their designated location.
Staff members can work at various locations with unique schedules, which allows you to customize how and where you offer your services.
Note: Locations only show up for clients during the booking process if they are connected to a staff member’s availability within these Staff Settings.
FAQs
Question: How do I enable the option to manage more than one physical branch? Answer: To activate this, navigate to Calendar Settings > Services, look for the Global Settings section, and switch the toggle for Enable Multiple Locations to the “on” position.
Question: Can I add images to my different business locations?
Answer: Yes. When adding a new location in the Locations tab, you have the option to choose or upload a specific location image. This helps customers visually identify the branch during the booking process.
Question: Does the system have a direct integration for Zoom or Google Meet?
Answer: No. Direct support for platforms like Zoom or Google Meet is currently unavailable. However, the article suggests you can host online sessions by creating a static meeting link and pasting it into the Address field instead.
Question: Why aren’t my locations showing up for clients on the booking page?
Answer: Locations only become visible to clients during the booking process if they are connected to a staff member’s availability. You must ensure you have assigned services and hours to a staff member within the Staff Settings for that specific location.
Question: How do I change the default address for my business?
Answer: By default, the account uses the address from Settings > Business Profile. To edit these details, you should navigate to Calendar Settings > Services > Locations and select Edit.
Question: Can a staff member work at more than one location with different schedules? Answer: Yes. Staff members can work at various locations with unique schedules. This allows you to customize exactly when and where a staff member offers their services, such as having them at one branch on Monday and a different branch on Tuesday.