Getting Started - Create & Sell Products
The purpose of this article is to explain how businesses can utilize the enhanced product management features within to define and monitor financial health at the product level. By integrating cost tracking directly into the payment ecosystem, users can move away from external spreadsheets and maintain a clear, real-time understanding of their profitability across every transaction.
Key Features and Benefits
Section titled “Key Features and Benefits”- Profitability Tracking: Define a specific Cost Price and Margin for every product price or variant to gain a transparent view of your earnings.
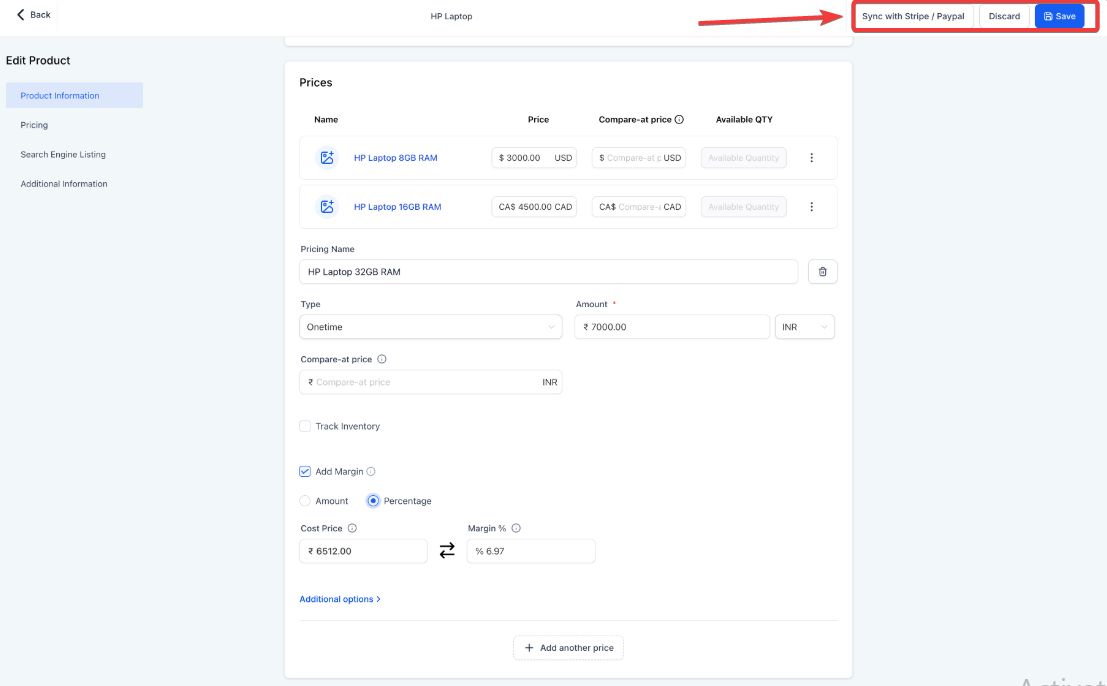
- Flexible Calculation Modes: Choose between “Amount” or “Percentage” modes when setting margins; entering data into one field will automatically calculate the other based on your selling price.
- Data Consistency: For manual price overrides on invoices or calendars, the system always pulls the cost data from the original product configuration rather than recalculating on the fly.
- Enhanced Reporting: Access a dedicated “Line Item Cost Price” column in your transaction exports to perform deep profitability analysis.
- Support for Diverse Scenarios: The system supports margin percentages above 100%, allowing for accurate tracking even in rare instances where costs may exceed the selling price.
How to Use Product Cost and Margin Tracking
Section titled “How to Use Product Cost and Margin Tracking”- Navigate to the Payments section: select Products, and choose to either create a new product or edit an existing one.
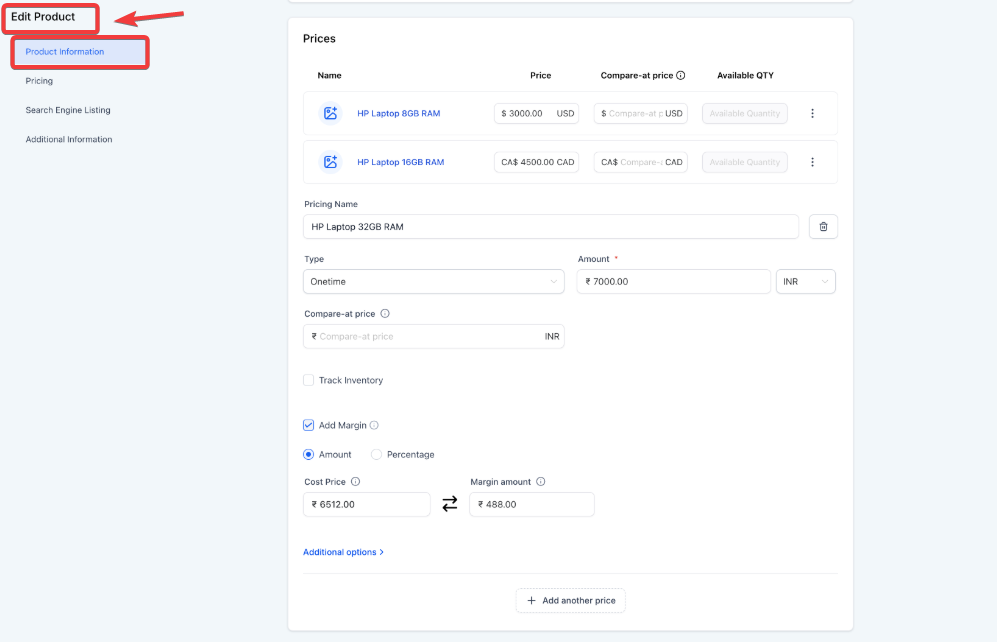
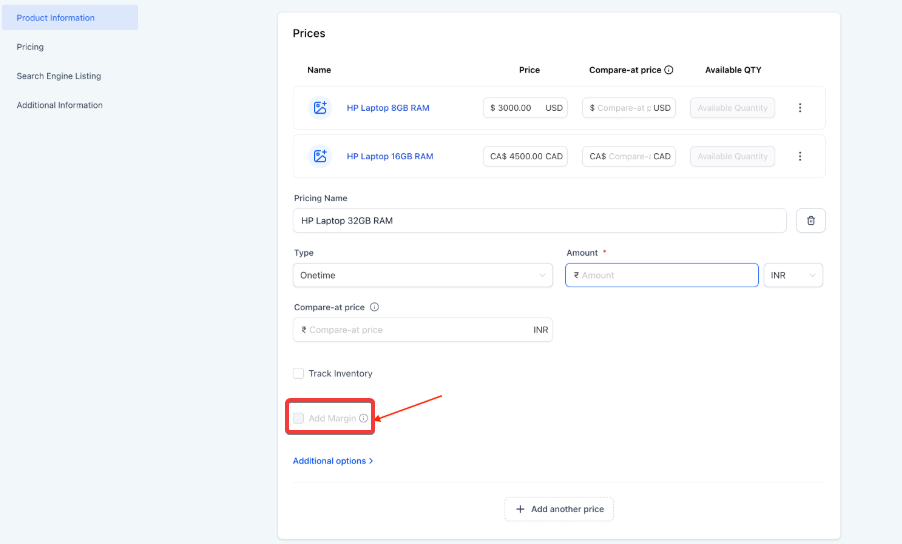
2. Enable Margin Tracking: Within the Pricing section of your product or variant, locate the “Add Margin” toggle. This is off by default for all existing products.
3. Configure Your Costs: Toggle “Add Margin” to the on position. Enter your Cost Price and select your preferred margin mode (Amount or Percentage).

4. Save and Sync: Save the product configuration. The system will now associate this cost data with future sales of that product or variant.
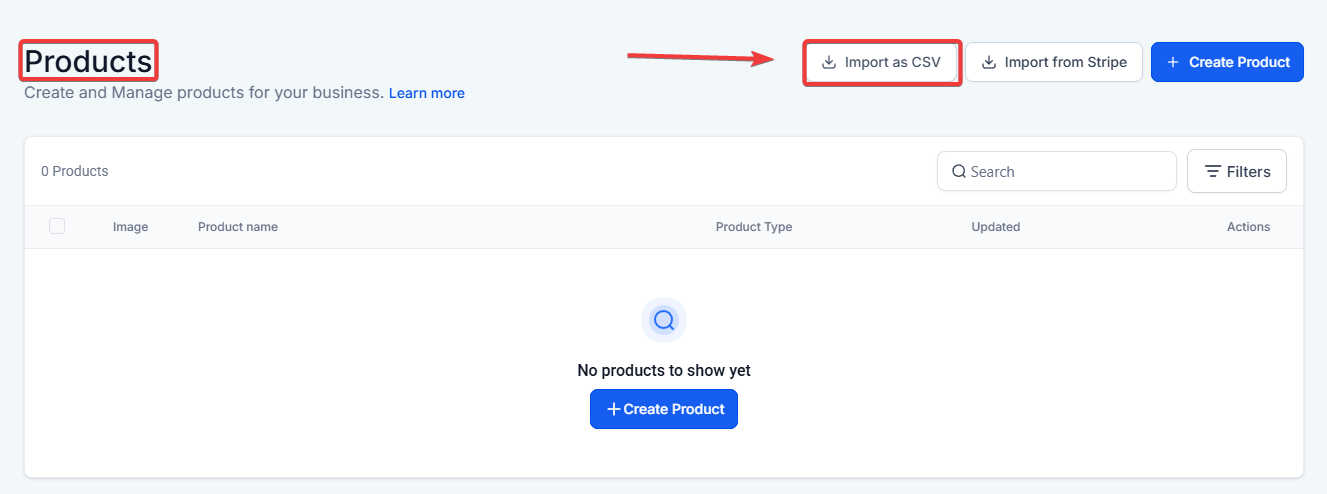
5. Export for Analysis: To view your profit data, go to Payments > Products and select Export CSV. The new “Line Item Cost Price” column will automatically appear for any products where a cost was defined.
Pro Tips
Section titled “Pro Tips”- Automatic Calculation: You don’t need to do the math yourself. If you know your desired profit margin percentage, enter it first, and will show you exactly what your cost price should be to achieve that goal.
- Historical Accuracy: Remember that changing a product’s cost price today will not retroactively change the data for past transactions already recorded in your export history.
- Invoice Overrides: If you manually discount a price on an invoice, be aware that the “Cost Price” remains static based on your product settings, giving you an accurate look at how that discount impacted your final margin.
Question: Where can I find the margin settings for my products? Answer: You can find these settings by navigating to Payments > Products. When you edit a product price or variant, look for the “Add Margin” toggle in the Pricing section.
Question: Will my existing products be affected by this feature automatically? Answer: No. The “Add Margin” toggle is off by default, so your existing products remain unaffected until you manually choose to configure their cost price.
Question: How does the system handle a margin percentage over 100%? Answer: The system fully supports percentages above 100%. This typically indicates that the cost of the item is higher than the current selling price.
Question: If I change the price of an item manually on a calendar, does the cost price change? Answer: No. The cost price is always pulled from the original product settings and is never recalculated on the fly, even if you override the selling price on an invoice or calendar.
Question: How do I see my profit data for a specific period? Answer: You can view this by going to Payments > Products and selecting “Export CSV.” Look for the “Line Item Cost Price” column in the downloaded file to analyze your profitability at the transaction level.