Mobile App: Creating Products, POS (Point of Sale) and Tap to Pay
Mobile App: Creating Products, POS (Point of Sale) and Tap to Pay
In today’s fast-paced business environment, closing deals on the go is essential. The enhanced Point of Sale (POS) checkout feature available on mobile apps allows you to take your sales process wherever you go. With the Tap to Pay functionality, you can seamlessly accept payments using just your mobile device, eliminating the need for bulky hardware or laptops. Whether you’re at an event, meeting a client, or just away from your desk, this feature ensures you never miss a sales opportunity.
Create or Edit a Product:
Section titled “Create or Edit a Product:”- To create a product, use the hamburger menu on the top left of the screen to access the “Products” section. Tap the + icon to get started.

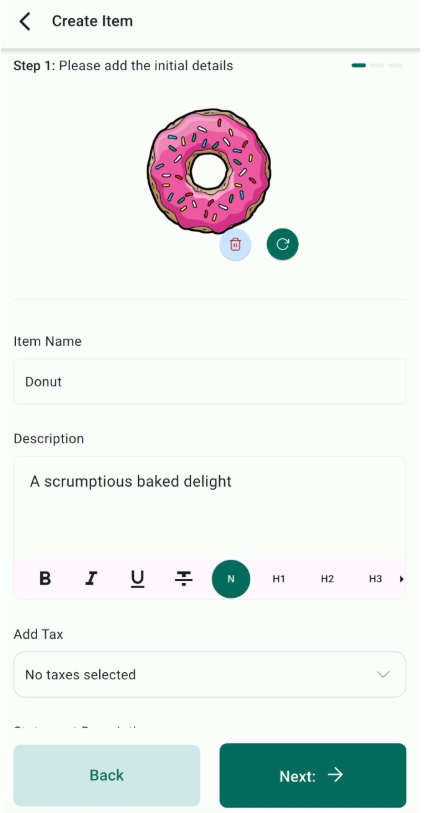
- Step 1: Enter basic product details such as Name, Description, Image, Item Type, and Statement Descriptor (optional).
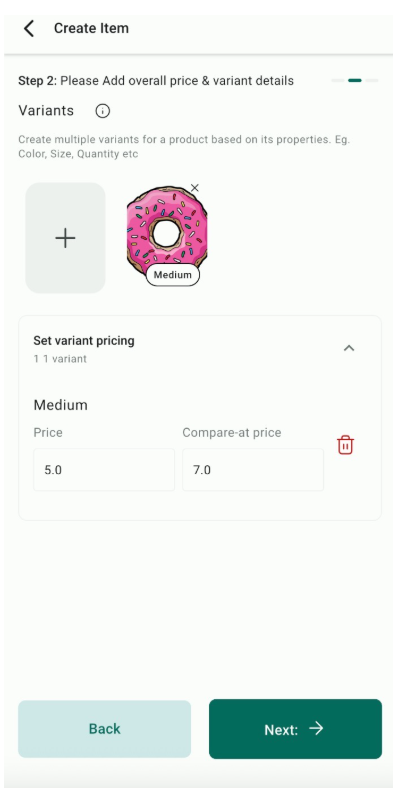
- Step 2: Define pricing models. You can set multiple prices or create variants with unique pricing for each combination.
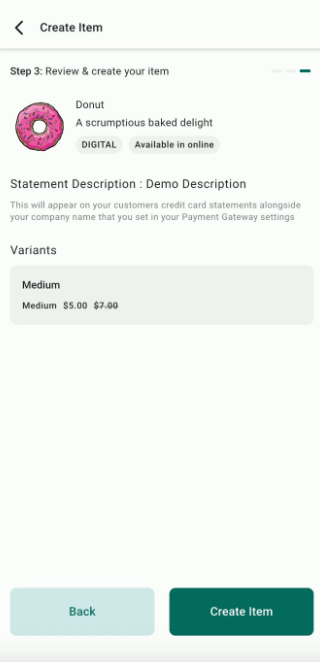
- Step 3: Review all product details and save or cancel the process. Once saved, the product is added to the catalog and can be used for POS or invoices.
Pro Tips
Section titled “Pro Tips”- Create Variants: When setting up products, take advantage of the variant options (e.g., different sizes, colors, or ticket types) to provide a tailored shopping experience for your customers.
- Track Sales Performance: Use the transactions tab to monitor all completed sales. This helps you keep track of your business performance and identify trends in real-time.
- Sync Across Devices: Any product created or modified on the mobile app will automatically sync with your desktop, ensuring consistency across all platforms.
- Contact Management: Link transactions directly to existing contacts to update customer records and maintain comprehensive sales data.
Using the Point of Sale feature
Section titled “Using the Point of Sale feature”Here, you can enter a new price and create a new product or connect the transaction to an existing product in your catalog. On the Mobile App, choose Point of Sale.

- Directly Creating a Custom Product within POS:
- Enter the amount for the transaction and put in some details about the sale by clicking on Item Details.

- Additionally, you can add the customer by clicking on the (person +) icon in the top right corner of the screen.
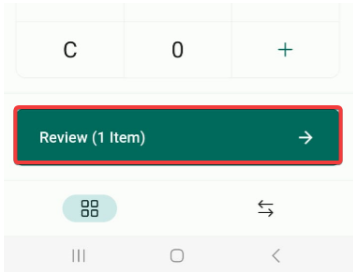
- After putting in the amount and details, click on the Review (Amount) button.
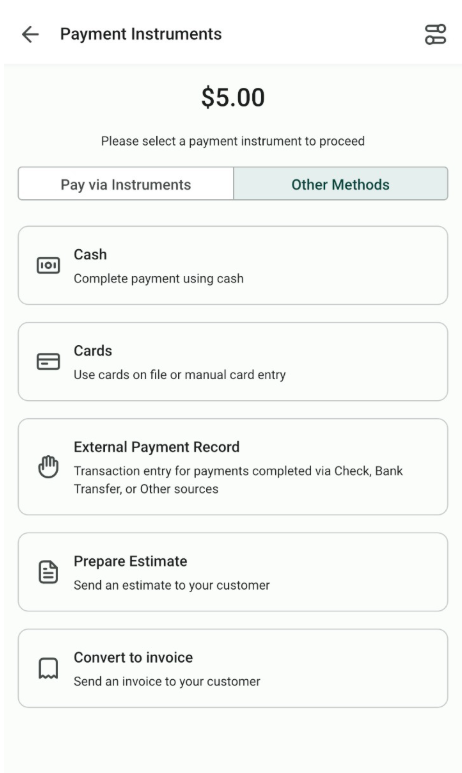
- Add a customer, review the price and tax amount, and add a discount if you wish. After you are finished reviewing it, proceed to “Choose Payment Instrument”
For more details on adding tax and discounts see our article “Point-of-Sale Tax and Discount Checkout Overview.”

Utilising Tap to Pay
Section titled “Utilising Tap to Pay”Before you use Tap to Pay:
What is Tap to Pay?
Tap to Pay transforms your smartphone into a powerful point-of-sale (POS) device, enabling you to accept payments without the need for external card readers. This feature uses Near Field Communication (NFC) technology to facilitate contactless payments, ensuring a smooth transaction experience.
Setting Up Tap to Pay
- Ensure your mobile app is updated to the latest version.
- Make sure your Stripe or Square account is integrated within the app. If you encounter a message indicating that Stripe/Square is not connected, navigate to Payments > Integrations in the web app and select ‘Connect with Stripe’.

- The feature is available in the US Only. So please ensure you’ve selected ‘United States’ as your country under the Business Profile settings.

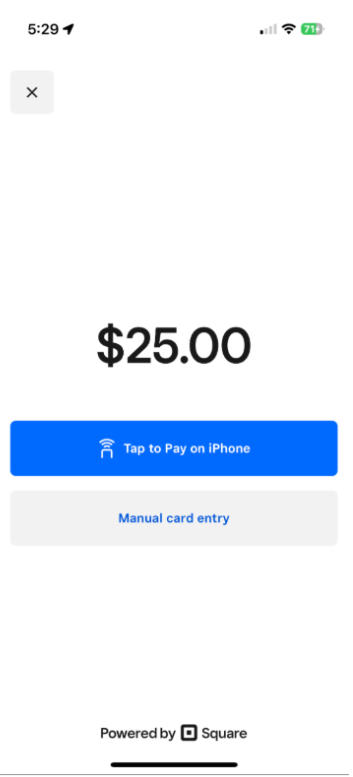
- Select “Tap to Pay”
- Wait for it to load and connect to the reader.
- Add a tip on top of the amount if necessary. You can also customize the amount for the tip by clicking “Custom.” If not, then just proceed with “No tip.”
- Ask your customer to tap their contactless payment method (e.g., Credit card, Apple Pay, etc.) to the App for the app to collect the payment to your Stripe account.
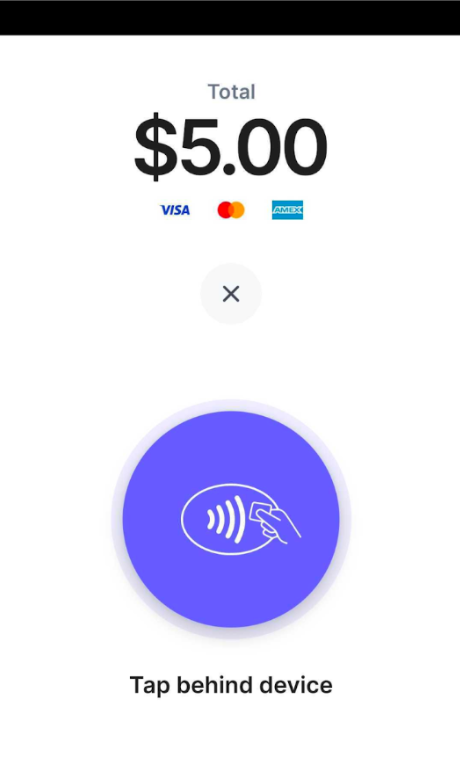
- Once it goes through, you’ll see “Approved, Payment Successful” on the screen, the name of the business, and also a transaction ID.

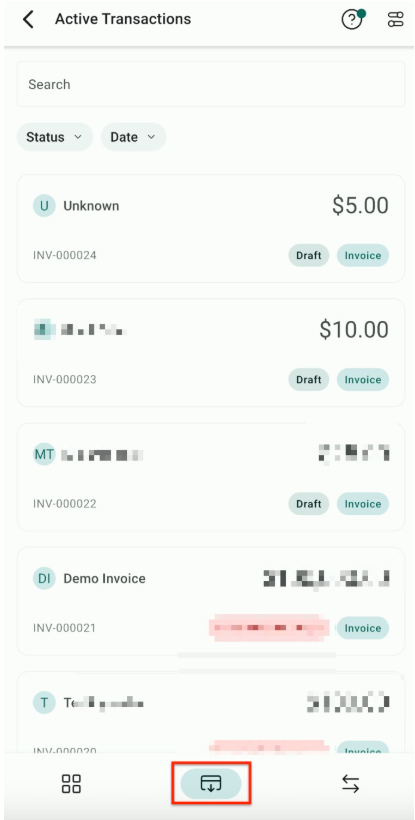
Mobile Payments: Active Transactions Inside POS
Users can access and manage all due or overdue invoices in one place. Users can quickly view, edit, and collect payments for invoices, estimates, contracts, and appointment-based invoices. To use this, log in to the mobile app, go to the POS section, open the Active Transactions menu, and select the invoice you wish to manage. From there, you can record payments using various payment methods like cards, cash, or payment readers.
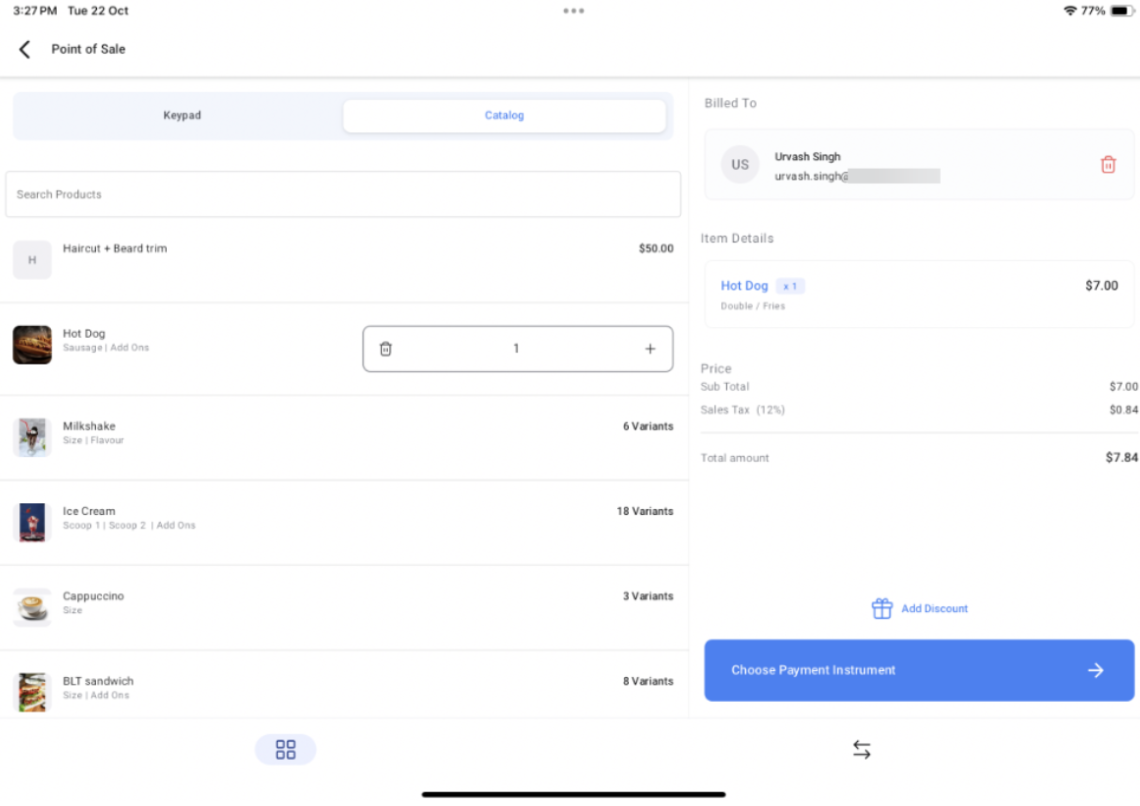
Special layout for the Point of Sale (POS) system on iPads and Android tablets
With split-screen and landscape modes, users can view the product catalog and checkout details simultaneously, simplifying the transaction process. This makes managing high-volume payments faster and more convenient for businesses using larger devices.
Available for version 3.84 and higher

POS Integration with Service Calendar
The integration of POS (Point of Sale) with the service calendar is particularly useful for businesses like spas, salons, or any service-based industry where clients may want to secure their future appointments with a deposit. A key benefit of this integration is the reduction in no-shows, as clients are more committed once a deposit is made.
How to Use:
1. Set Up Payments in the Calendar: Log in to your web account, go to the calendar settings, and enable payment acceptance under the “Forms and Payments” section. You can specify the total amount or allow partial payments for securing bookings. Ensure the payment mode is set to live.

2. Handling Payments via Mobile App: Open the LeadConnector app on your phone, navigate to the calendar, and select the relevant appointment. You can view or edit the invoice and record payments using options like tap to pay, cash, card, or manual entry.


Special Requirements or Limitations:
- Ensure that the calendar is correctly set up to accept payments and is switched from test to live mode.
- The POS system requires a compatible device for tap-to-pay functionalities.
Tips for a Smooth Experience
Section titled “Tips for a Smooth Experience”Update Regularly: Keep your mobile app and smartphone OS updated for the best performance.
Check Compatibility: Ensure your device supports NFC and is compatible with Tap to Pay.
Supported Devices
Section titled “Supported Devices”1. All Android devices (with NFC capability) running on Android 8 OS or later.
2. For iPhone Users:
- An iPhone XS or later running on iOS 16 or later (US)
Question: How do I create a new product for POS?
Answer: To create a new product, access the “Products” section from the hamburger menu on your mobile app, tap the + icon, and fill in the required details such as Name, Description, Image, and Pricing.
Question: Can I set different prices for product variants in POS?
Answer: Yes, you can set multiple pricing models and create variants with unique pricing for each combination when setting up your products.
Question: How do I enable Tap to Pay on my mobile device?
Answer: Ensure your mobile app is updated, and your Stripe or Square account is connected in the Payments > Integrations section of the app. Tap to Pay is available for compatible devices in the United States.
Question: What devices support the Tap to Pay feature?
Answer: Tap to Pay is supported on all Android devices with NFC capability running on Android 8 or later, and on iPhone XS or later running on iOS 16 or later in the US.
Question: Can I add discounts or taxes directly in the POS?
Answer: Yes, during the checkout process in POS, you can review the price, add a tax amount, or include a discount before finalizing the transaction.
Question: What happens if the internet connection drops during a Tap to Pay transaction?
Answer: Tap to Pay requires an active internet connection (Wi-Fi or Cellular Data) to communicate with Stripe or Square for authorization. If the connection is lost, the payment will not go through. Always ensure you have a stable signal before asking a customer to tap their card.
Question: How can I collect a deposit for a future appointment using the mobile app?
Answer: Navigate to the Service Calendar within the mobile app and select the relevant appointment. If you have enabled payments in your web account’s calendar settings, you can record a partial payment or deposit directly through the app using Tap to Pay, card, or cash.