ClickFunnels to
The purpose of this article is to provide a structured, step-by-step framework for migrating business assets from legacy funnel builders to the ecosystem. Transitioning platforms can often feel overwhelming; however, by following a systematic documentation and recreation process, you can ensure that your courses, products, contact databases, and marketing automations remain intact and functional. This guide focuses on maintaining data integrity and operational continuity throughout the transition.
Key Features and Benefits
Section titled “Key Features and Benefits”- Centralized Management: Consolidate your websites, funnels, and e-commerce stores into a single interface within .
- Enhanced Automation: Move beyond basic email broadcasts to multi-channel engagement, including SMS, voice, and advanced workflow triggers.
- Data Integrity: Securely migrate customer profiles, custom attributes, and purchase histories using standardized CSV protocols.
- Scalable Infrastructure: Leverage robust hosting for courses and memberships with built-in completion tracking and access control.
- Streamlined Payments: Connect preferred global payment gateways to manage subscriptions, one-time products, and order bumps seamlessly.
How-to-Use Steps
Section titled “How-to-Use Steps”Classic ClickFunnels Menu
Section titled “Classic ClickFunnels Menu”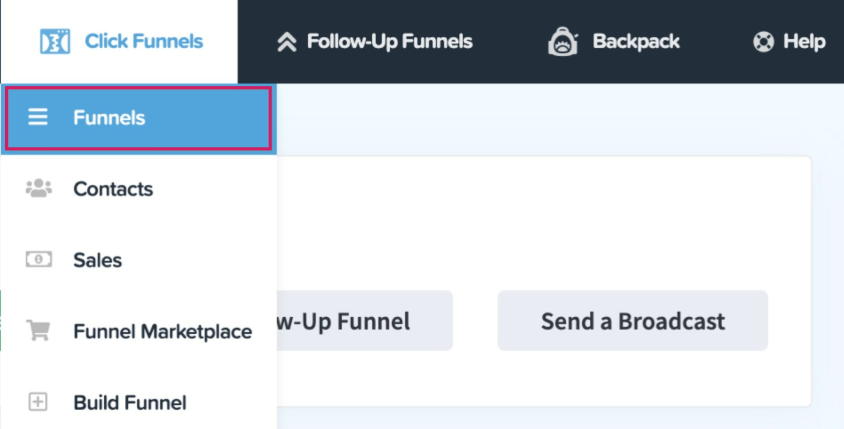
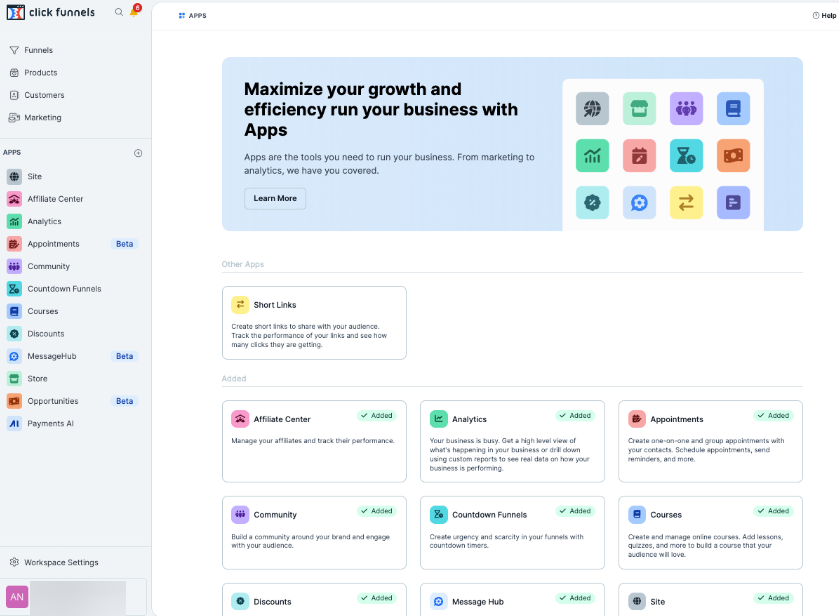
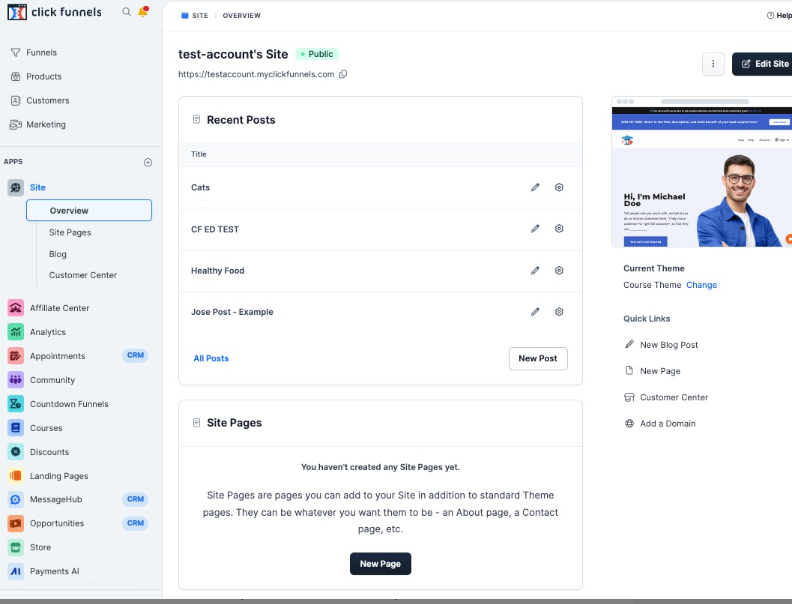
ClickFunnels 2.0 Menu
By default, the menu includes Funnels, Products, Customers, and Marketing. Users can customize their menu by adding additional apps such as Opportunities, Sites, Automation, Courses, and Store.
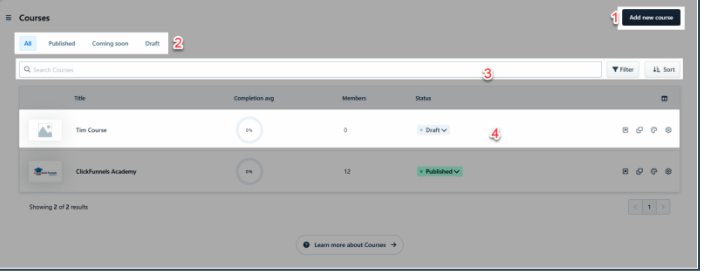
1. Migrating Educational Content (Courses)
Section titled “1. Migrating Educational Content (Courses)”- Document: Log into your existing provider and list all modules, lessons, quizzes, and downloadable files. Record access settings (e.g., “Published” or “Draft”).
- Recreate: Use the Memberships area in to build the course structure and upload your video or text content.
- Verify: Perform a post-migration check to ensure completion tracking and member login credentials function correctly.
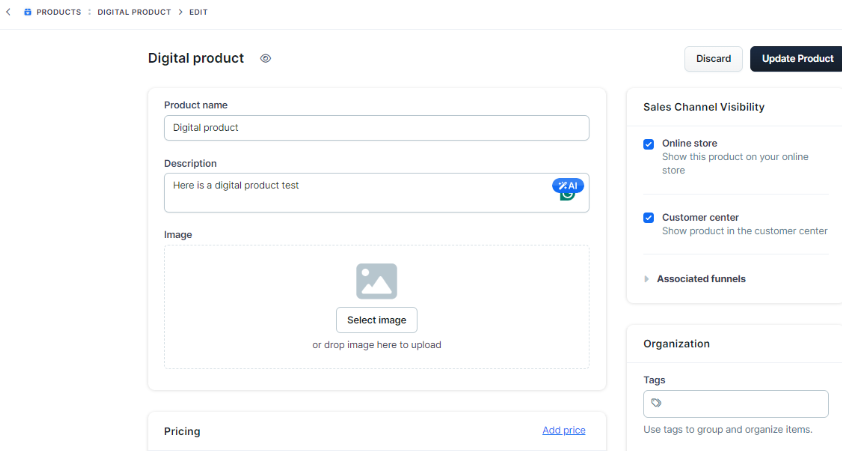
2. Transitioning Products and Payments
Section titled “2. Transitioning Products and Payments”- Export: Select your product list in your current tool and export the data as a CSV file.
- Integrate Gateways: Navigate to the Payments section in and connect your preferred merchant accounts (e.g., Stripe, NMI, or Authorize.net).
- Import: Use the “Import as CSV” feature within the Products tab to bring your product catalog into .
3. Rebuilding Websites and Funnels
Section titled “3. Rebuilding Websites and Funnels”- Audit: List every funnel URL, tracking code, and custom CSS snippet currently in use.
- Import/Build: Utilize the built-in import tools to bring funnel steps over, or use the drag-and-drop editor to recreate pages using your documented style guides.
- Test: Validate the purchase flow, ensuring that upsells and downsells trigger the correct subsequent steps.
4. Moving Contact Databases
Section titled “4. Moving Contact Databases”- Filter and Export: Access your customer list, apply any necessary filters (like tags), and export to a CSV. Ensure you include essential fields like Email, Name, and Timezone.
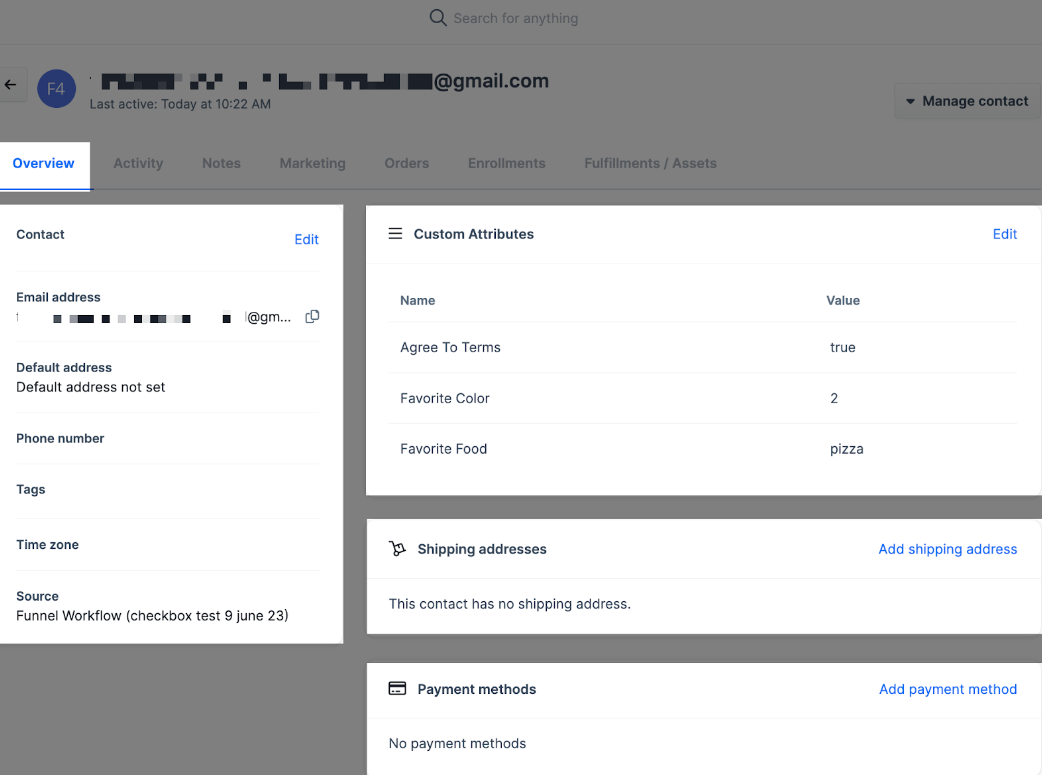
- Review: Open the file to verify that custom attributes are correctly mapped.
- Bulk Import: Upload the CSV into , mapping the headers to the corresponding contact fields.
Pro Tips for a Successful Migration
Section titled “Pro Tips for a Successful Migration”- The “Double-Check” Rule: Before finalizing your contact import, ensure your CSV file is UTF-8 formatted to prevent special characters from breaking the data mapping.
- Consistent Tagging: Standardize your contact tags during the export phase. This is the best time to clean up “messy” data so your automations in run more efficiently.
- Test Mode Payments: Always use “Test Mode” in your payment integrations to run a full transaction before going live. This ensures your webhooks and “Thank You” pages are properly connected.
- Email Deliverability: When migrating email marketing, start by sending a small “re-engagement” broadcast to your imported contacts to warm up your new sending domain and protect your sender reputation.
Frequently Asked Questions
Section titled “Frequently Asked Questions”**Question:How do I document and recreate my courses from my old system to ?
Answer: Document each course’s structure, including modules, lessons, and downloadable files. Note all settings like member access and customization options. Recreate the structure in the Memberships section of and test the access levels to ensure content displays as intended.
Question: What is the best way to move my product list? Answer: Navigate to your current product area, select the items you wish to move, and use the “Export” action to generate a CSV file. In , go to the Payments tab and use the “Import as CSV” option to upload your catalog.
Question: How do I set up payment integrations to match my previous setup? Answer: Document your current gateways. In , navigate to Payments > Integrations. You can connect multiple providers such as Stripe, NMI, or Authorize.net. Ensure you follow the authorization prompts to sync your existing merchant accounts.
Question: Can I migrate my existing email marketing workflows? Answer: Yes. Document all triggers, timing, and content of your current workflows. Save your email templates. In , use the Workflow Builder to recreate these sequences, utilizing the Email Template Builder for consistent branding.
Question: What should I do if my contact import fails or looks incorrect? Answer: Refer to the troubleshooting section for bulk imports. Common issues involve incorrect CSV formatting or unmapped custom fields. Ensure your headers match the fields in and that required fields, such as email addresses, are present for every record.