How To Create and Edit Smart Lists
How To Create and Edit Smart Lists
Smart Lists are a fantastic way to keep your contacts organized and up-to-date in your . They’re easy to use and incredibly versatile, allowing you to sort and manage contacts with ease. Let’s break down how to use them in a straightforward, user-friendly manner.
Creating a Smart List:
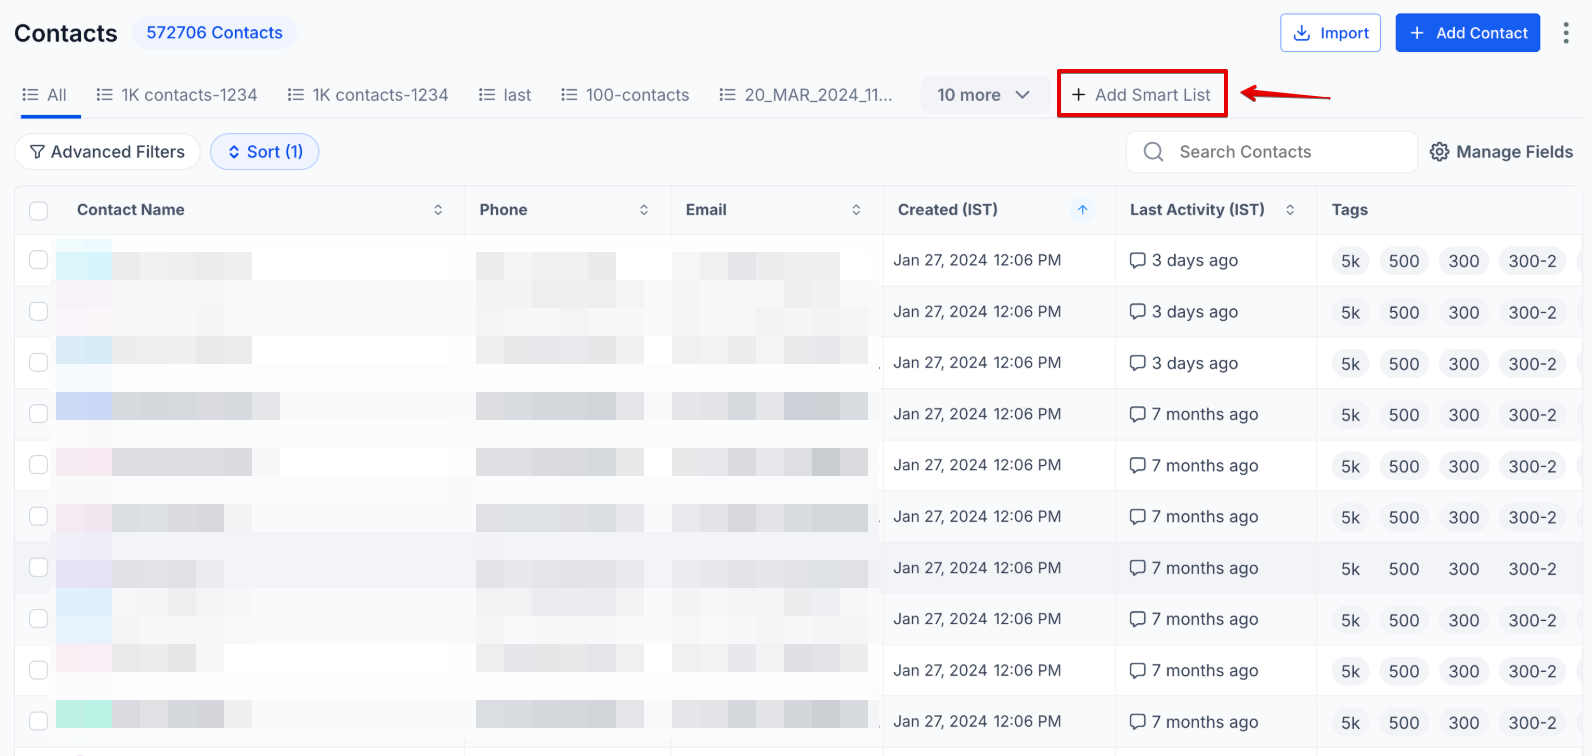
Section titled “Creating a Smart List:”- Starting Off: Go to the ‘Contacts’ section in your , and select ‘Smart Lists’.
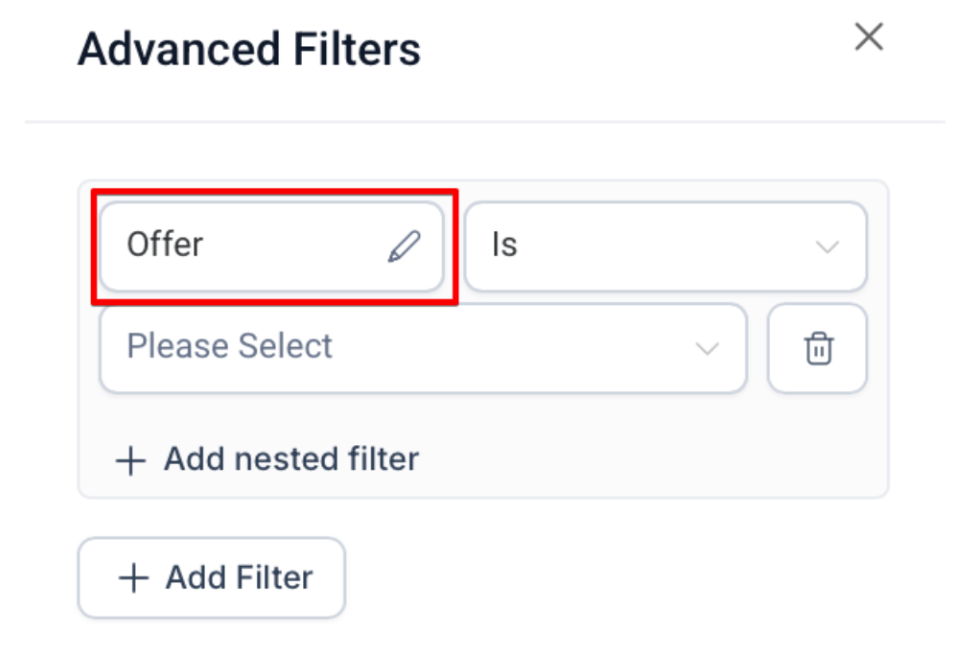
- Adding Filters: Click on ‘More Filters’. Here, you’ll find a variety of options to choose from, helping you narrow down your contacts.
Choosing Filters:
Section titled “Choosing Filters:”- Variety at Your Fingertips: You can pick from basic filters like finding inactive contacts or more specific ones like tagging.
- Easy Navigation: Filters are sorted neatly, making it simple to find what you need.
- Setting a Filter: For example, if you’re using the “Created By Filter”, just search for it, decide if you want ‘is’ or ‘is not’, and then pick a user.
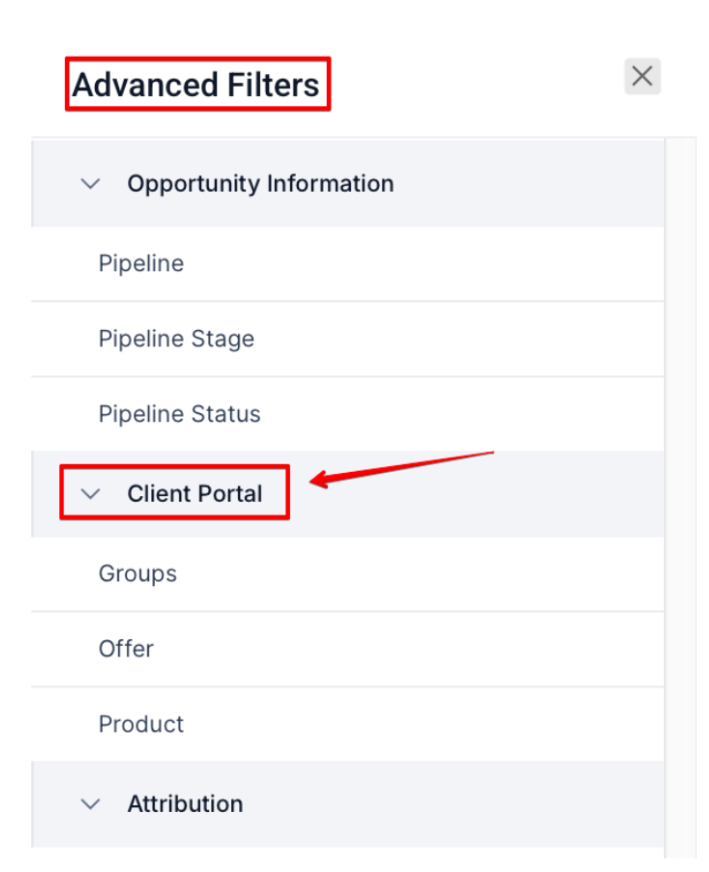
- Another example is the group filter for communities and the client portal.Simply search for “community” or “Client Portal” to quickly access this filter. Effortlessly sort contacts by the Community Groups they belong to.
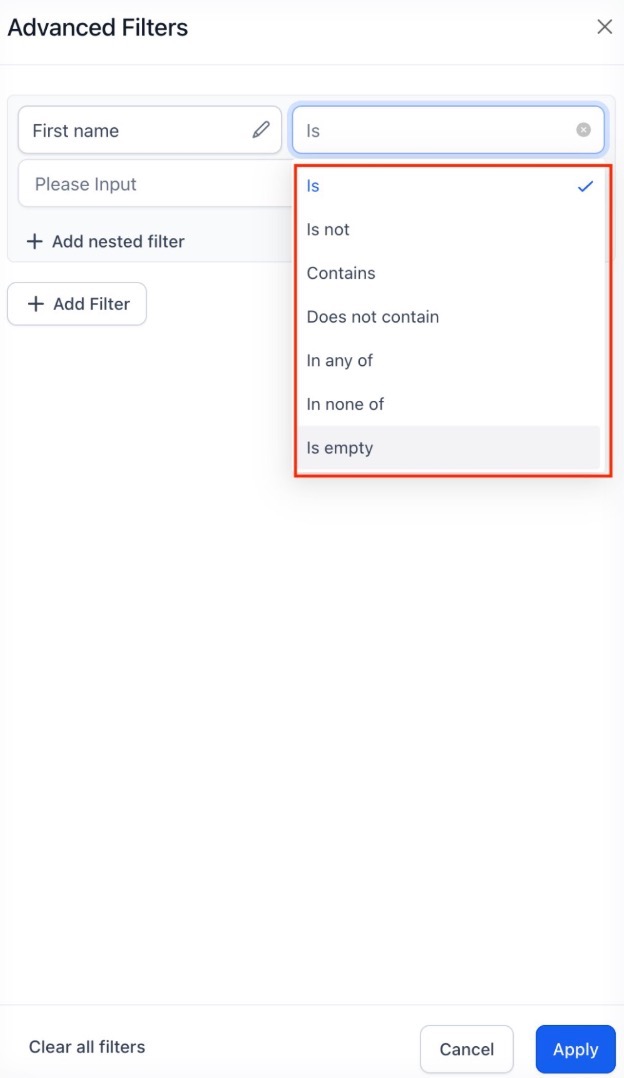
Standardized Logic: Operators (like “is,” “is not,” “contains,” etc.) behave consistently across all data types, whether you are filtering by a date, a number, or a text string.
Reviewing Your Filters:
Section titled “Reviewing Your Filters:”- See What You’ve Chosen: All your selected filters will be shown on the right side, so you can easily see what you’ve set up.
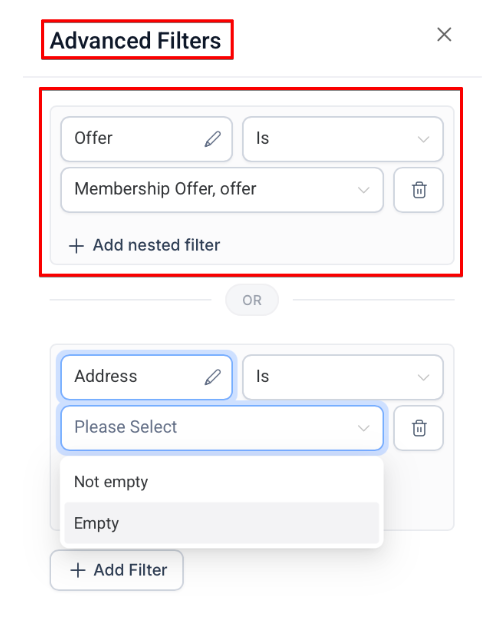
- Add More If Needed: If you want to add more filters, just click “AND”.
Saving Your Smart List:
- Finalize Your List: Once you’re happy with your filters, click “Save as smart list”.
- Now, your list is set up and ready to use!
Using Smart Lists in :
Section titled “Using Smart Lists in : ”- Find Your Lists: In ‘Contacts’, your Smart Lists are clearly labeled. Click on any list to open it

- Change as Needed: You can edit or delete any Smart List easily. Just choose the list and adjust the filters.
Extra Features:
Section titled “Extra Features: ”Manage Smart Lists:
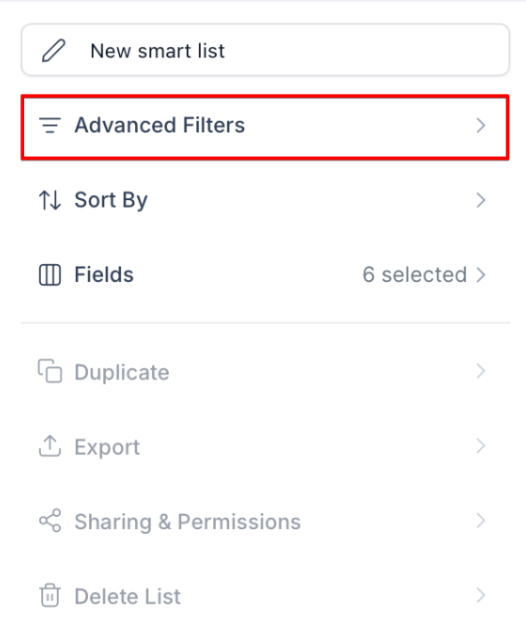
Section titled “Manage Smart Lists:”You can manage your lists. When you click the three-dot button (⋮) in the Contact page, you will find the option to “Manage Smart Lists.”


Advanced Filters:
Section titled “Advanced Filters:”-
Created By Filter: Search for contacts based on the user who created a particular contact record.
-
Last Updated By Filter: Find contacts based on the last user who updated a contact record.
-
Communication DND Suffixes: To make communication-related filtering easier, “DND” (Do Not Disturb) suffixes can be used for specific channels like SMS, email, calls, and WhatsApp.
-
Opportunity Filters: Previously known as “Pipeline” filters, these have been renamed to Opportunity to better align with standard industry terminology.
-
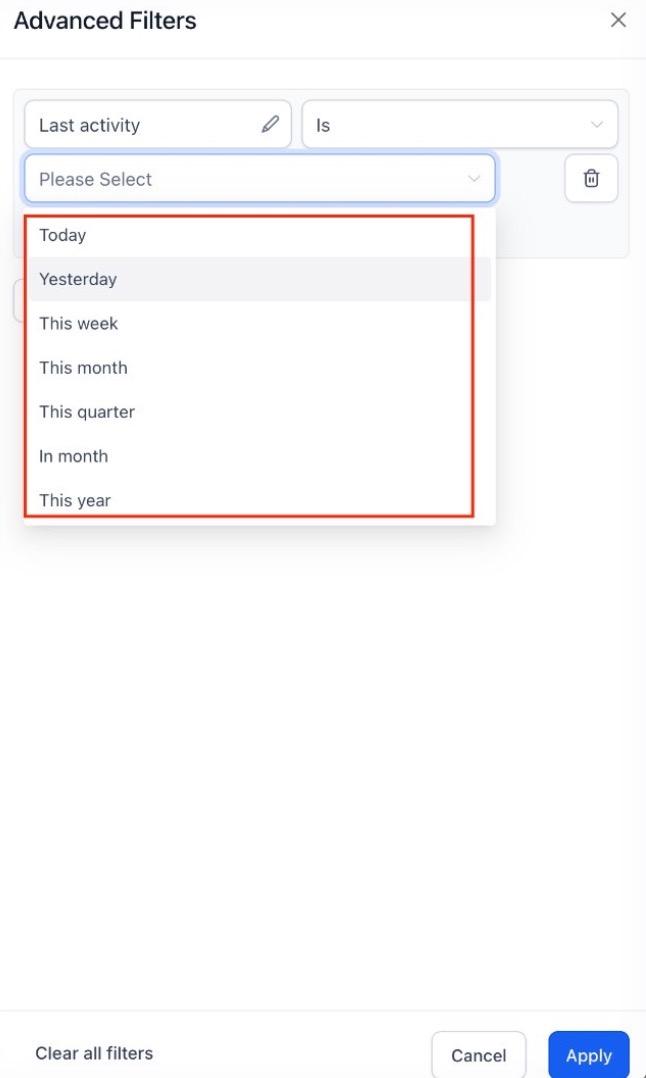
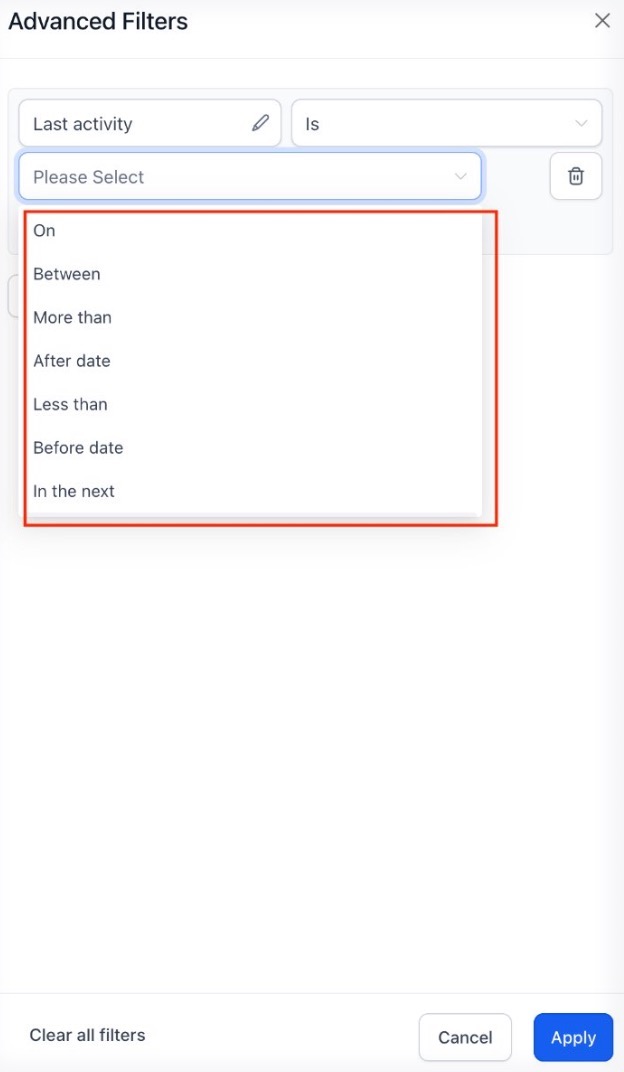
Expanded Date Operators: Filters for date operators, including today, tomorrow, yesterday, this week, this quarter, this year, before date, and after date.
-
Status Tracking: Email and WhatsApp status operators reflect real-world matching scenarios and underlying status criteria.
-
Numeric Field: Filtering for numeric fields can be used with for greater precision.
-
Expanded Applicability: These advanced filtering are not just for contacts; they are also applicable to tasks, custom objects, and companies.
-
Inbound DND (Do Not Disturb) Settings Filter: Filter contacts based on their DND status for inbound communications.
-
DND Settings Filter: Search for contacts with specific DND preferences for outbound communications.
-
Website Filter: Filter contacts based on the website associated with them.
-
Instagram ID Filter: Enables users to filter contacts with or without an Instagram ID.
-
Facebook ID Filter: Search for contacts based on the presence or absence of a Facebook ID.
-
Country Filter: Filter contacts based on their country.
-
Timezone Filter: Find contacts based on their timezone, useful for scheduling communications.
-
Google ID Filter: Search for contacts with or without a Google ID.
-
Additional Email Filter: Includes contacts based on primary and additional email addresses.
-
Last Activity Time Filter: Users can search for contacts based on the time of the last activity recorded.
-
Valid Email Filter: Filter contacts based on the validation status of their email addresses.
-
Source Type Filter: Filter contacts based on the source type field value.
Along with these filters, additional phone numbers, emails, time zones, countries, and website columns have been added to the Smartlist table/columns and contacts export.
Question: How do I create a new Smart List?
Answer: Go to the ‘Contacts’ section, select ‘Smart Lists’, click on ‘More Filters’ to choose and configure your filters, then save your list by clicking “Save as smart list”.
Question: What types of filters can I use with Smart Lists? Answer: You can use a variety of filters, including those based on assigned users, custom fields, inbound/outbound DND settings, social media IDs, country, timezone, and more.
Question: Can I edit or delete a Smart List?
Answer: Yes, you can easily edit or delete any Smart List from the ‘Contacts’ section by selecting the list and making the necessary changes.
Question: Are there any new columns or filters available in the Smart List feature? Answer: Yes, new columns for additional phone numbers, emails, time zones, countries, and websites have been added, along with various advanced filters.
Question: Can I manage my Smart Lists, such as copying, sharing, renaming, or deleting them? Answer: Yes, you can manage your Smart Lists from the ‘Contacts’ page. In the top right, you’ll find options to copy, share, rename, or delete any list you have created.
Question: Can I filter contacts who have no activity? Answer: Yes, you can use filters such as Last Activity Time or inactivity-related filters to identify contacts with no recent engagement.
Question: What is the main difference between a “Bulk Action” and a “Smart List”? Answer: A bulk action is a one-time event (like sending an email to a group). A Smart List is a dynamic segment; once you set the filters, any new contact who meets those criteria in the future will automatically be added to that list without you having to do anything manually.
Question: Can I manage my Smart Lists, such as copying, sharing, renaming, or deleting them? Answer: Yes, you can manage your Smart Lists from the ‘Contacts’ page. When you click the three-dot button (⋮) in the Contact tab, you will find the option to “Manage Smart Lists.”
Question: How can I filter and organize contacts based on their involvement in my Community Groups or Client Portal? Answer: You can use the specific group filters for communities and the client portal. Simply search for “community” or “Client Portal” within the filter menu to effortlessly sort and access contacts based on the specific Community Groups they belong to.
Question: How can I filter and organize contacts based on their involvement in my Community Groups or Client Portal? Answer: You can use the specific group filters for communities and the client portal. Simply search for “community” or “Client Portal” within the filter menu to effortlessly sort and access contacts based on the specific Community Groups they belong to.