Contacts: Synchronize Attachments with the Document Management Tab
The Document Management Tab in helps you synchronize all attachments exchanged via email, SMS, Instagram, and Facebook, organizing them in one accessible space. This article outlines the key features, benefits, and steps to use the Document Management Tab for effective seamless attachment handling.
Key Features and Benefits
Section titled “Key Features and Benefits”1. Centralized Attachment Storage
Section titled “1. Centralized Attachment Storage”The Document Management Tab allows you to gather all attachments—whether sent or received—under one tab for each contact. This eliminates the need to search through multiple messages or email threads.
2. Organized Document View
Section titled “2. Organized Document View”With filters such as “Sent,” “Received,” and “All,” users can quickly locate specific attachments, making document retrieval faster and more efficient.
3. Seamless File Preview and Download
Section titled “3. Seamless File Preview and Download”Files can be easily previewed or downloaded directly from the Document Management Tab, allowing you to quickly access important documents without leaving the conversation.
4. Automated Attachment Syncing
Section titled “4. Automated Attachment Syncing”Whether you send or receive attachments via email, SMS, or social media platforms, the Document Management Tab automatically syncs these files, ensuring that all documents are stored with the corresponding contact.
5. Manual Upload Capability
Section titled “5. Manual Upload Capability”In addition to automatic syncing, users can manually upload files directly into the Document Management Tab, making it a central hub for all client-related documents.
How to Use the Document Management Tab
Section titled “How to Use the Document Management Tab”Step 1: Access the Document Tab
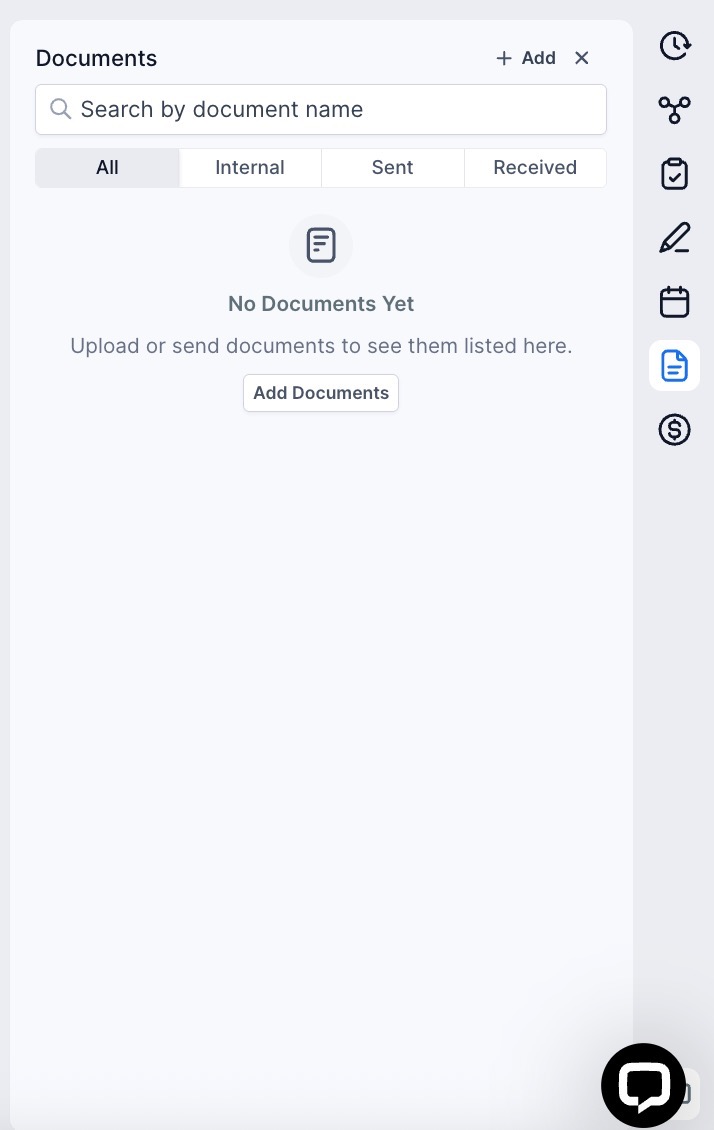
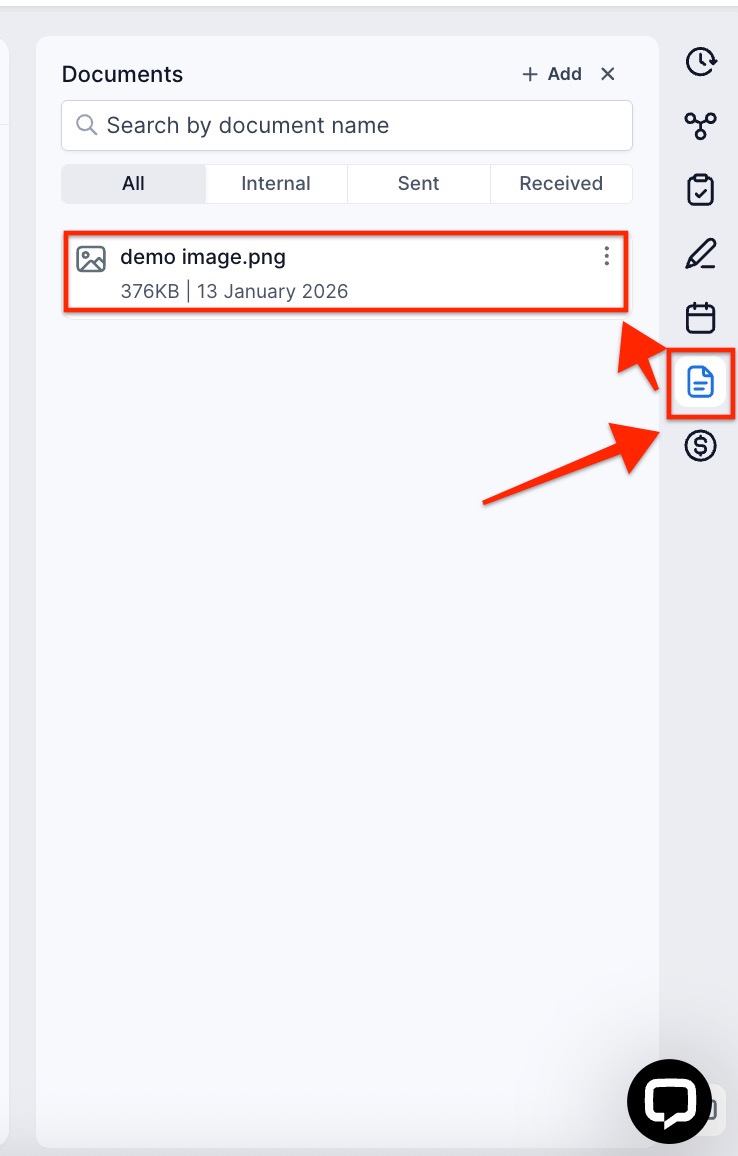
Section titled “Step 1: Access the Document Tab”- From your dashboard, navigate to Contacts.
- Select a contact, which will open the Contact Card.
- On the Contact Card, click on the Documents tab

Step 2: Manage Sent and Received Documents
Section titled “Step 2: Manage Sent and Received Documents”- View All Documents: By default, the tab will display all documents associated with the contact.
- Filter by Category: Use filters like Sent, Received, or Internal to narrow down your search.
- Search: Use the search bar to quickly locate a specific file by keyword (e.g., “Invoice”).
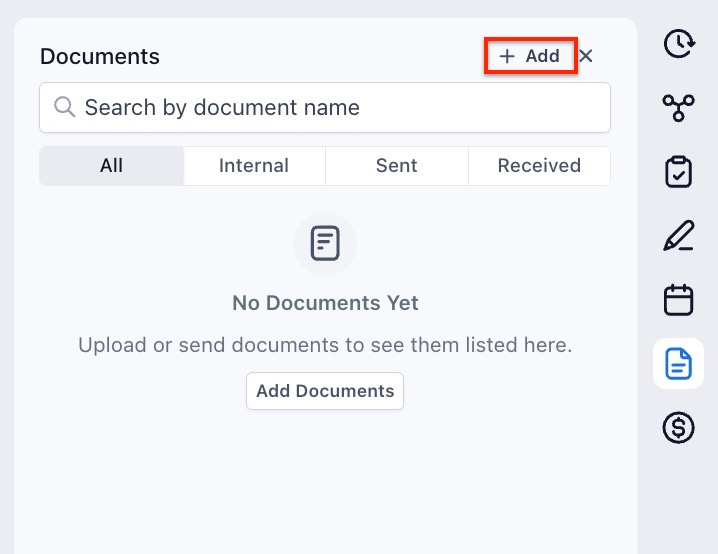
Step 3: Add a Document Manually
Section titled “Step 3: Add a Document Manually”- In the Document Management Tab, click the + Add button.
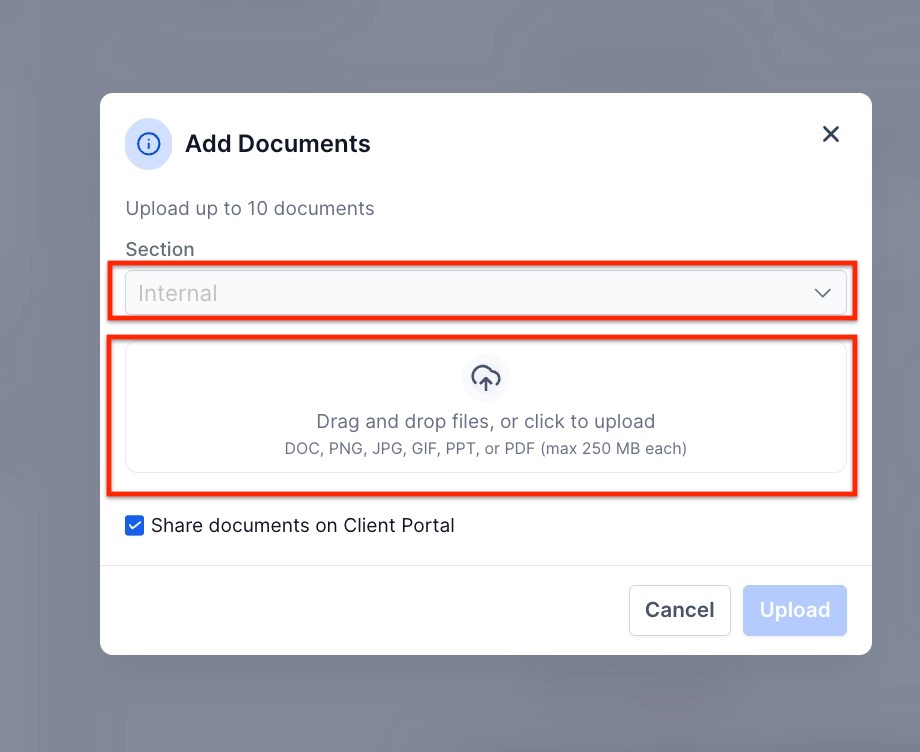
- Drag and drop the file into the window or browse your system to upload a file.
- Once uploaded, the file will be accessible under the selected category (Sent, Received, or Internal).
Step 4: Attach Files to Messages
Section titled “Step 4: Attach Files to Messages”When you click the ‘Add’ button a pop-up will show up:
- Attach your document as usual by selecting Upload from System or use Internal.
2. After you upload the document, please click the ‘Upload’ button.
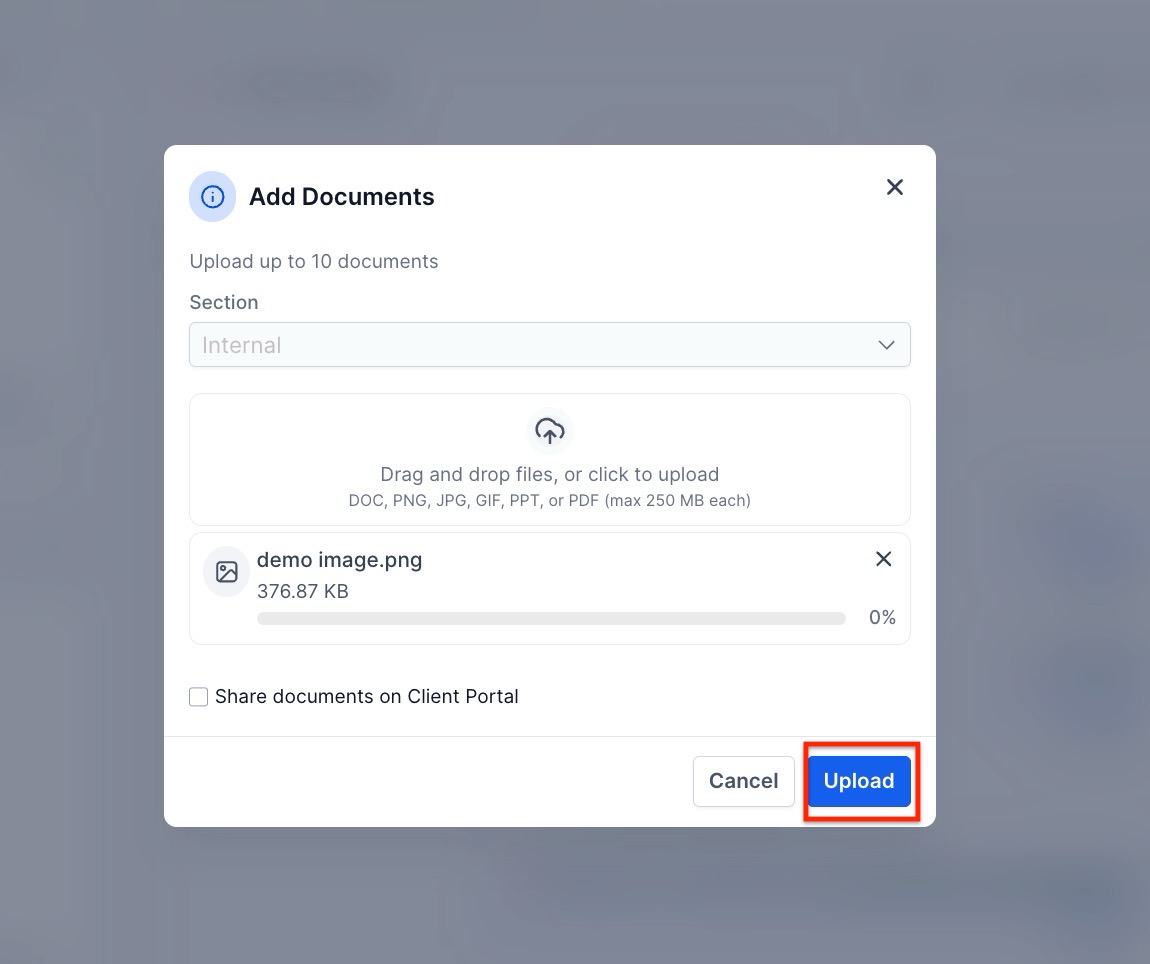
3. You can then check the document on the contact card.
Step 5: Preview and Download Attachments
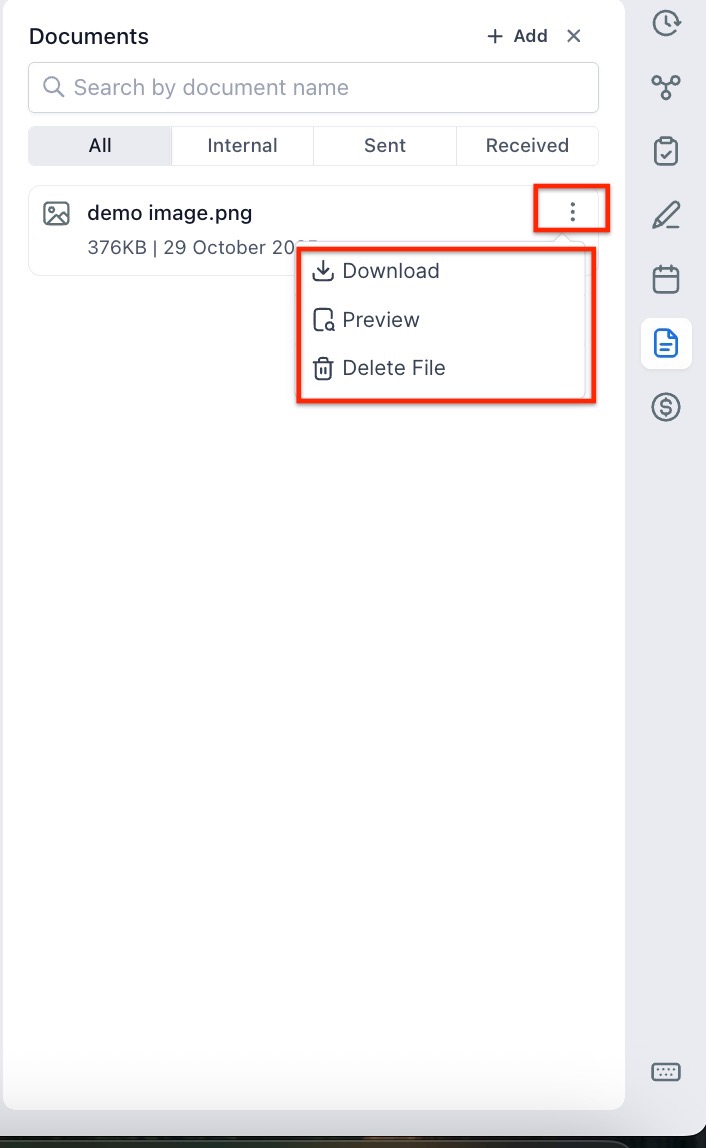
Section titled “Step 5: Preview and Download Attachments”- Click the three dots next to any file in the Document Tab.
- Select Preview to view the document in a new window, or choose Download to save it to your device. You will also have the option to Delete the document.
Pro Tips
Section titled “Pro Tips”- Use Filters for Quick Navigation: Regularly filter documents by “Sent” or “Received” to keep a clear record of outgoing and incoming attachments.
- Stay Organized with Custom Naming: Ensure that uploaded documents are named clearly to improve searchability and reduce clutter.
- Assign Responsibility: When multiple users handle a contact, the automatic synchronization ensures everyone stays informed about sent or received documents.
Question: Can I add attachments from social media platforms like Instagram and Facebook?
Answer: Yes, attachments sent via Instagram or Facebook are automatically synced and stored in the Document Tab alongside emails and SMS messages.
Question: How do I ensure that my email attachment is saved in the Document Tab?
Answer: When attaching a document to an email, check the Add to Documents box to save it automatically in the Document Management Tab.
Question: What types of files can I store in the Document Tab?
Answer: You can store various file formats, including PDFs, images, spreadsheets, and other commonly used file types.
Question: Can I upload internal documents that are not tied to a specific message?
Answer: Yes, you can manually upload internal documents to the Document Tab using the + Add button.
Question: Is there a file size limit for attachments in the Document Management Tab?
Answer: The maximum file size for uploads depends on the platform’s general attachment limits, typically up to 25MB for emails.
Question: Will all users see synced attachments?
Answer: Yes, automatic syncing ensures that all team members with access to the contact can view the uploaded attachments.
Question: Can I “Bulk Download” all documents for a contact at once? Answer: Currently, files are downloaded one at a time to ensure security and accuracy. This allows you to pick and choose exactly which version of a contract or image you need to save to your local computer.
Question: Does the system only save documents that I send to the client?
Answer: No. The tab is designed for Automated Attachment Syncing, meaning it captures both sent and received files from email, SMS, Instagram, and Facebook DMs.
Question: Can I remove a document from the Document Management Tab if it was uploaded by mistake?
Answer: Yes. You have the option to delete documents. By clicking the three dots (options menu) next to any file within the Document Tab, you can select “Delete” to remove the attachment from the record.