AI Knowledge Base Setup Guide
AI Knowledge Base Setup Guide for
The Knowledge Sources Support feature empowers businesses to enhance their conversational AI systems by enabling them to learn directly from diverse content types such as tables, rich-text documents, and uploaded files. The purpose of this capability is to make AI-driven responses more precise, transparent, and context-aware, helping teams deliver faster and more reliable answers to customer inquiries.
Key Features and Benefits
Section titled “Key Features and Benefits”- Improved Accuracy: The AI automatically ranks and retrieves the most relevant data before generating a response.
- Faster Setup: Add or update data sources instantly without retraining.
- Flexible Learning: Upload spreadsheets, rich-text content, or files to provide structured learning material.
- Transparency: Each AI response shows which data source was used, ensuring full visibility and confidence.
How to Use Knowledge Sources Support
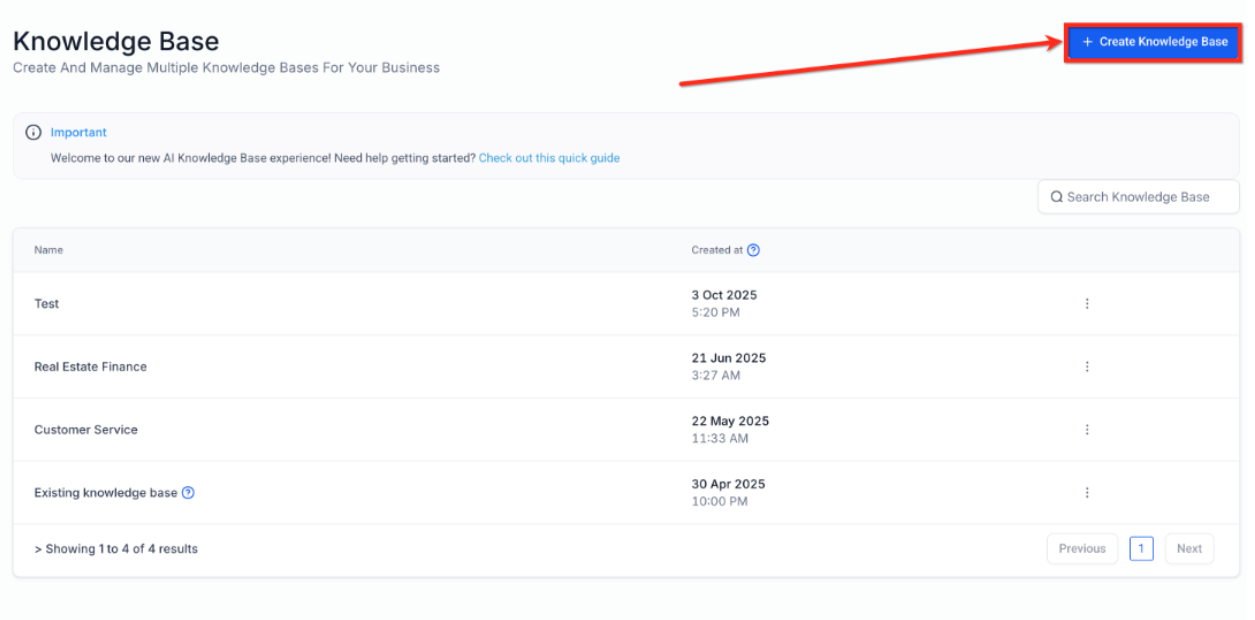
Section titled “How to Use Knowledge Sources Support”- Access Knowledge Base: Navigate to the Knowledge Base section under AI Agents within your dashboard.
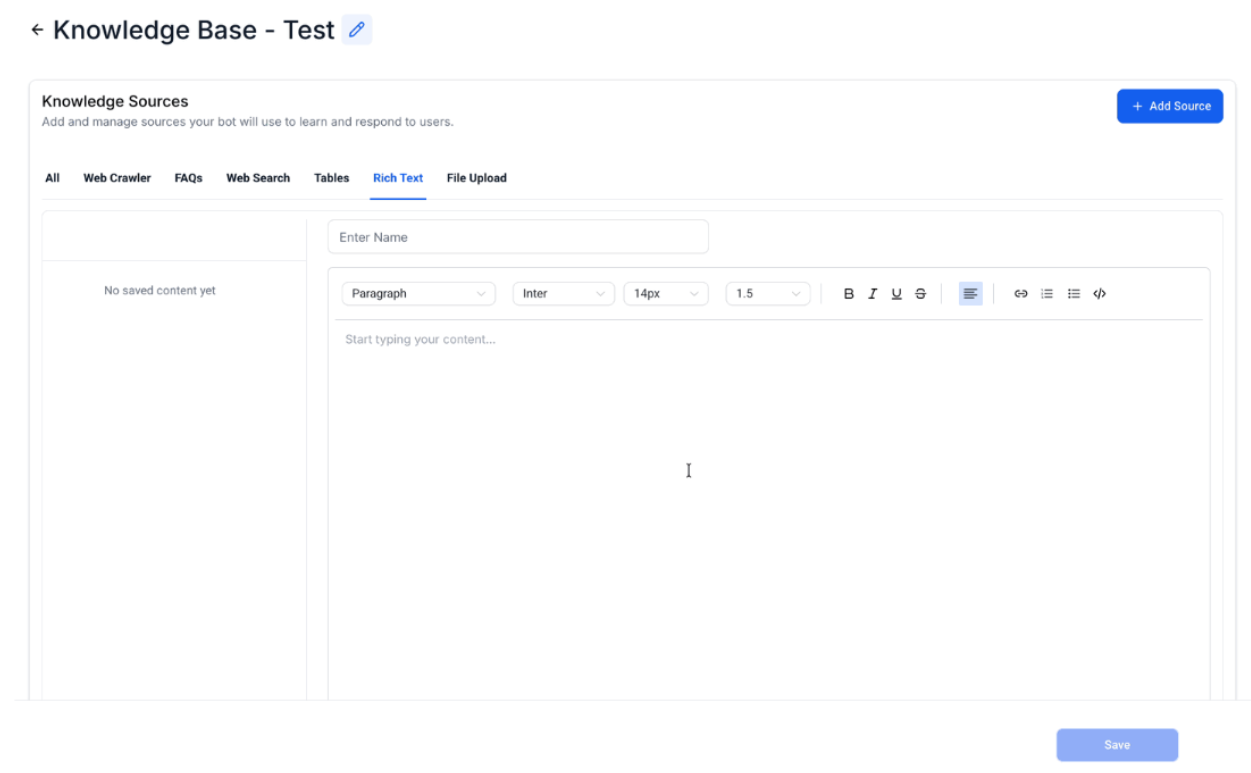
2. Add a Source: Click Add Source and choose from Tables, Rich Text, or File Upload.
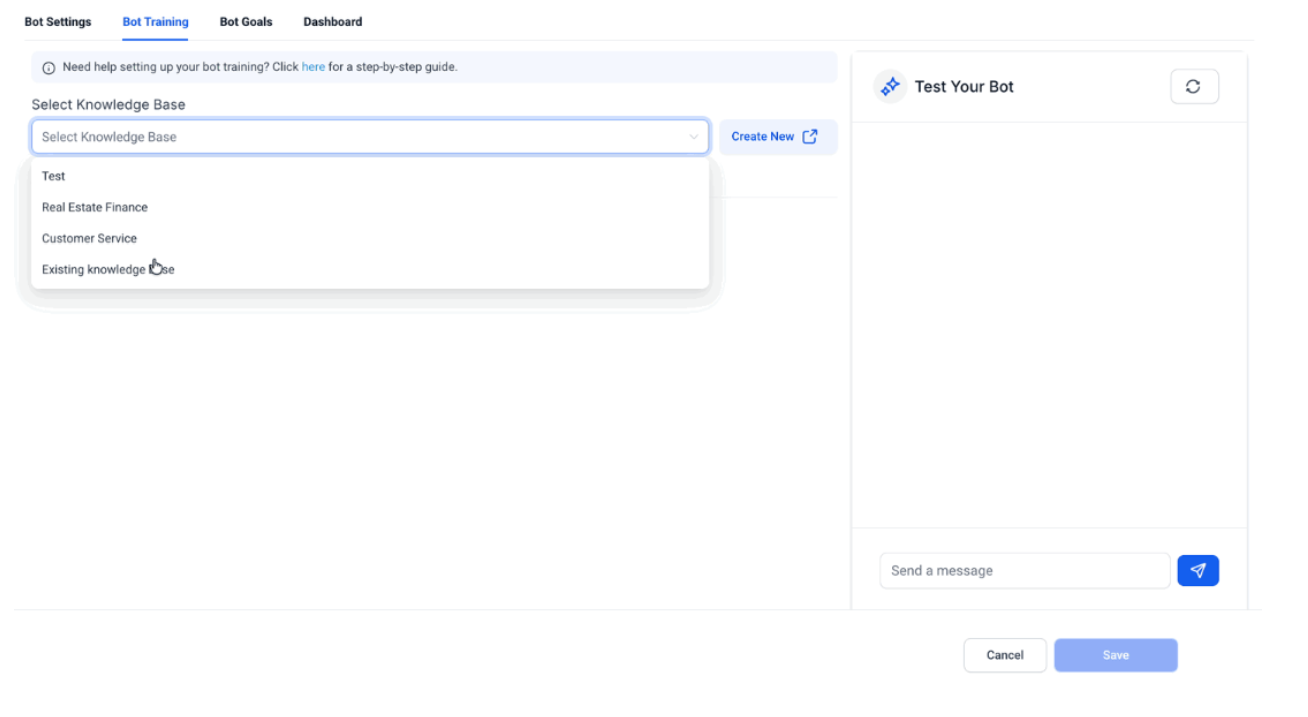
3. Attach to a Bot: Open your Conversation AI bot and select the Knowledge Base that includes your uploaded or created sources.
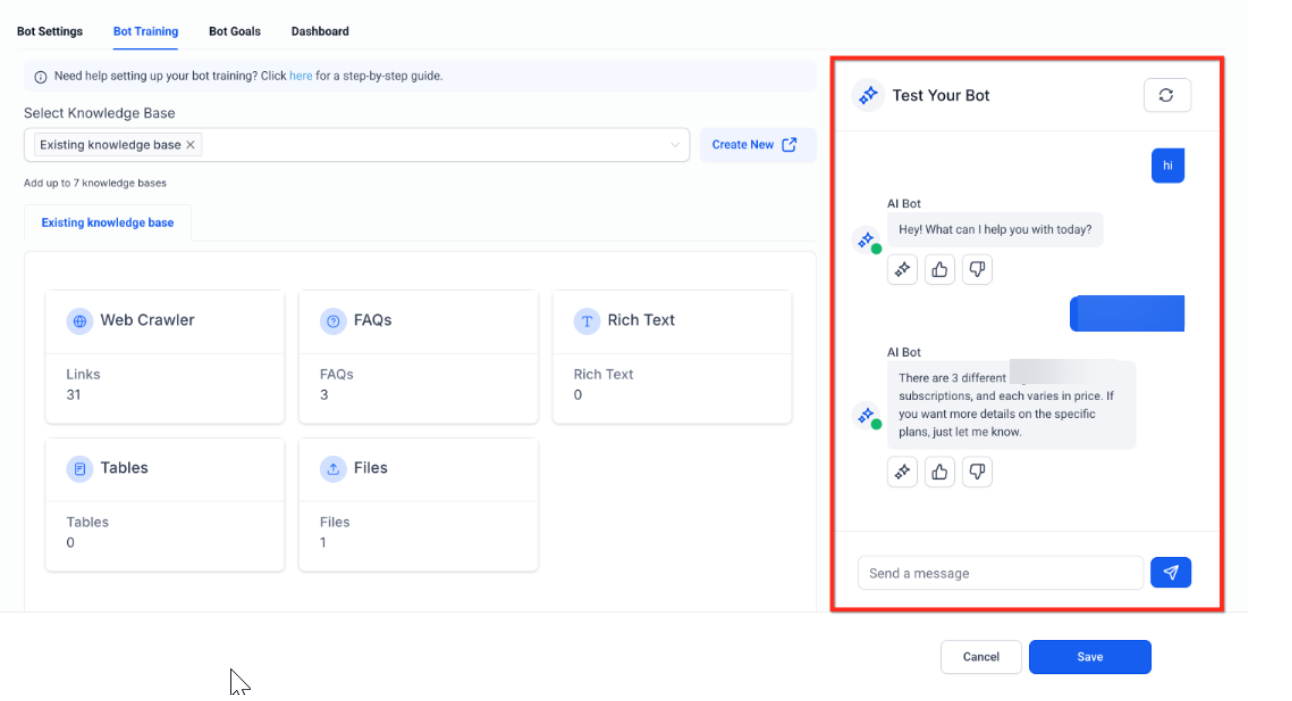
4. Test the Bot: Ask different questions in the testing window to evaluate how effectively it retrieves information.
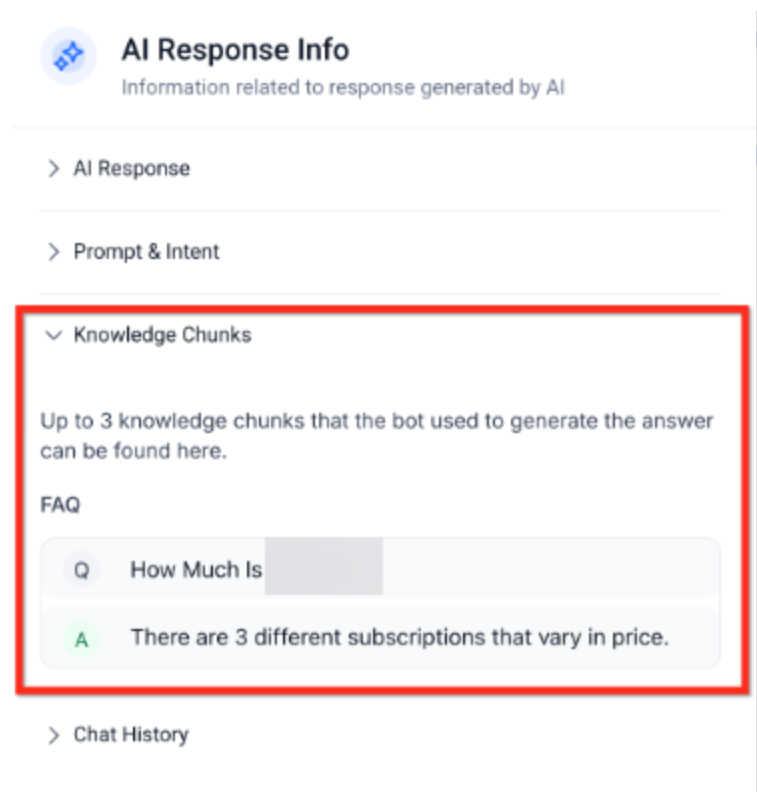
5. View Response Info: Check the “Response Info” panel to see which document, file, or table data was used in the answer.
Question: Do I need to retrain the AI after uploading new sources?Answer**: No, the AI automatically indexes the new data and begins using it immediately.
Question: Can I upload multiple file types in a single knowledge base?Answer**: Yes, you can combine text documents, tables, and uploaded files seamlessly.
Question: How does the re-ranking engine work?Answer**: It scores and filters data snippets for contextual relevance before sending the top-ranked content to the AI for response generation.
Question: What happens if I update a file or table?Answer**: The AI automatically updates its reference data no manual steps are required.
Question: How can I verify which data the AI used in its response?Answer**: Click on the Response Info icon next to any AI-generated message to see the exact source and snippet used.
Question: How do I add new sources to my AI bot?Answer**: To add new sources, navigate to the Knowledge Base section under AI Agents in your dashboard. Click “Add Source” and select your preferred data type (Tables, Rich Text, or File Upload). Then, attach the source to your bot.
Question: What is the benefit of the “Response Info” panel?
Answer: It provides transparency and verification. By checking this panel, you can see the exact document, file, or table snippet the AI used to build its answer, ensuring you can trust the information provided.
Question: Is there a limit to the file size I can upload?
Answer: While most standard business documents and spreadsheets are easily handled, it is a pro-tip to break extremely large documents (e.g., a 500-page manual) into smaller, topical sections. This helps the re-ranking engine find the specific answer faster and improves the overall quality of the response.
Question: How can I evaluate if my AI bot is effectively retrieving information from the sources I provided? Answer: You can evaluate the bot’s performance by using the testing window. By asking various questions, you can see how the AI retrieves data; you can then check the “Response Info” panel to verify exactly which document, file, or table was used to generate the answer.